I don’t know about you guys but with finals going on for the past week, it’s been hard to get all my Christmas shopping done. Lucky for me, my mom shared her amazing DIY gift idea with me! Y’all, I’m not lying to you. It’s SO easy and pretty inexpensive!
I went by this tutorial although I changed some things.
What you need:
- Etching glass solution (found at Michaels and Hobby Lobby)
- A glass
- Painters tape
- Stencil stickers
- Small paint brush
- Gloves and eye protection
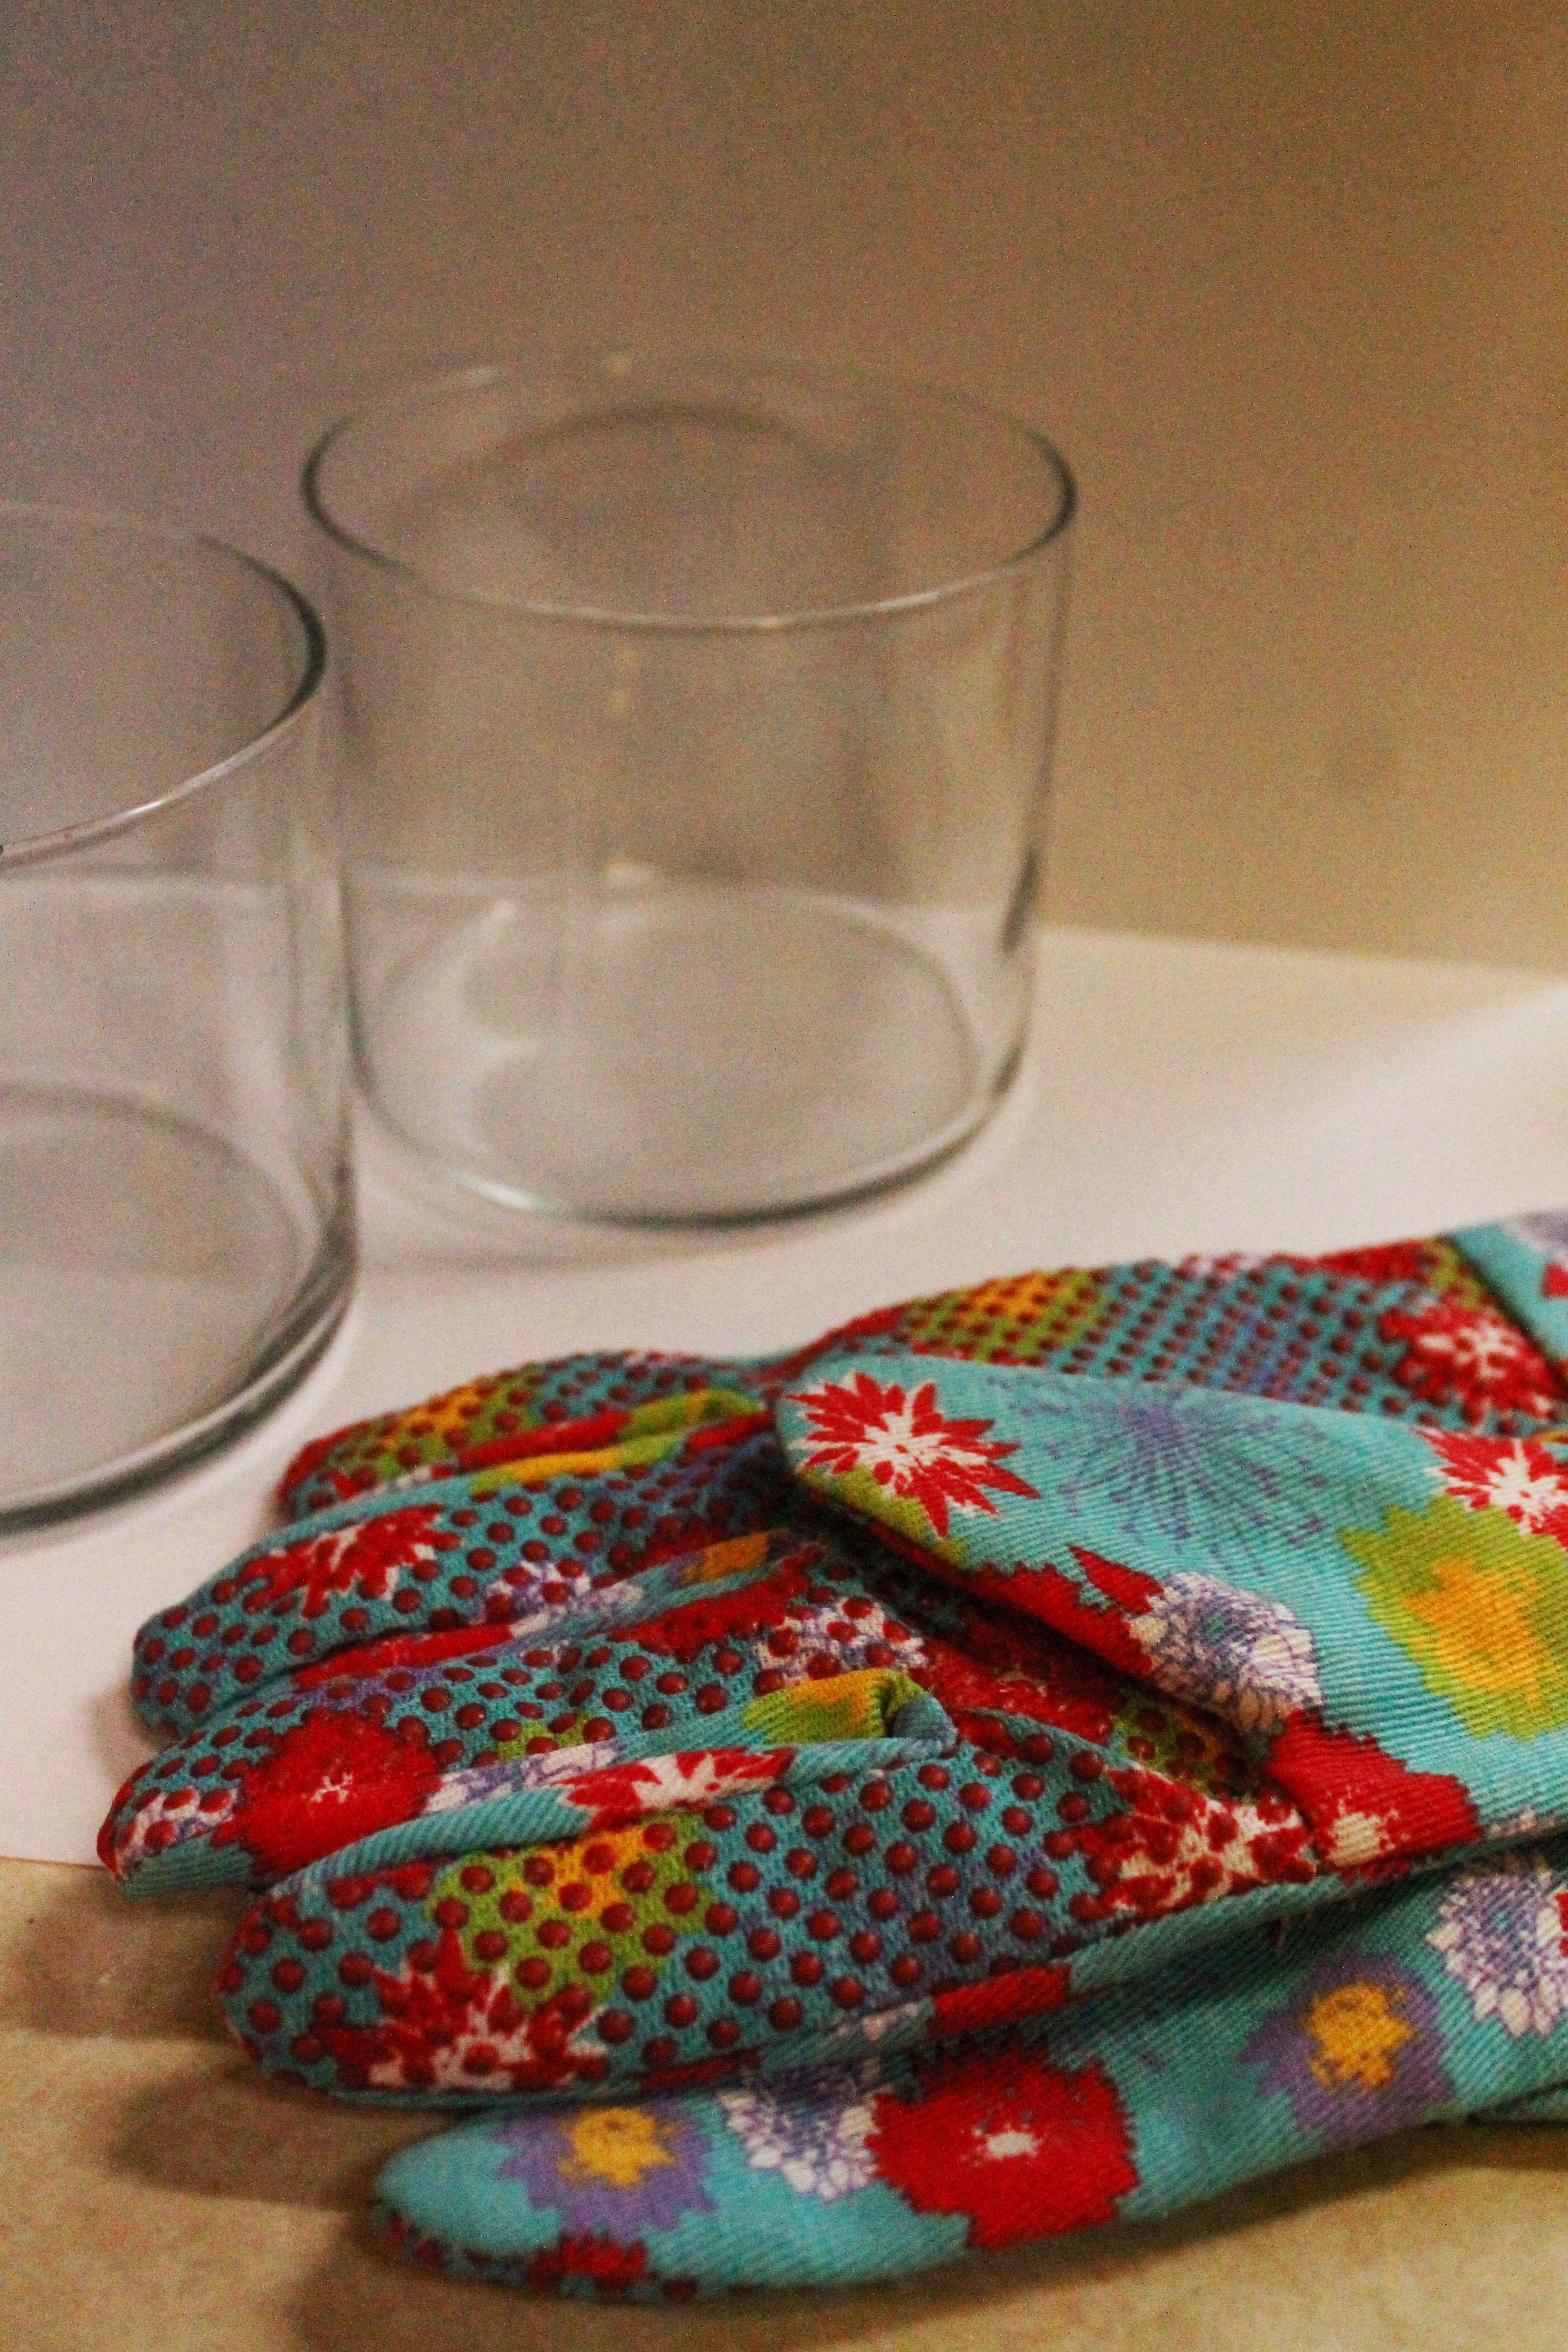
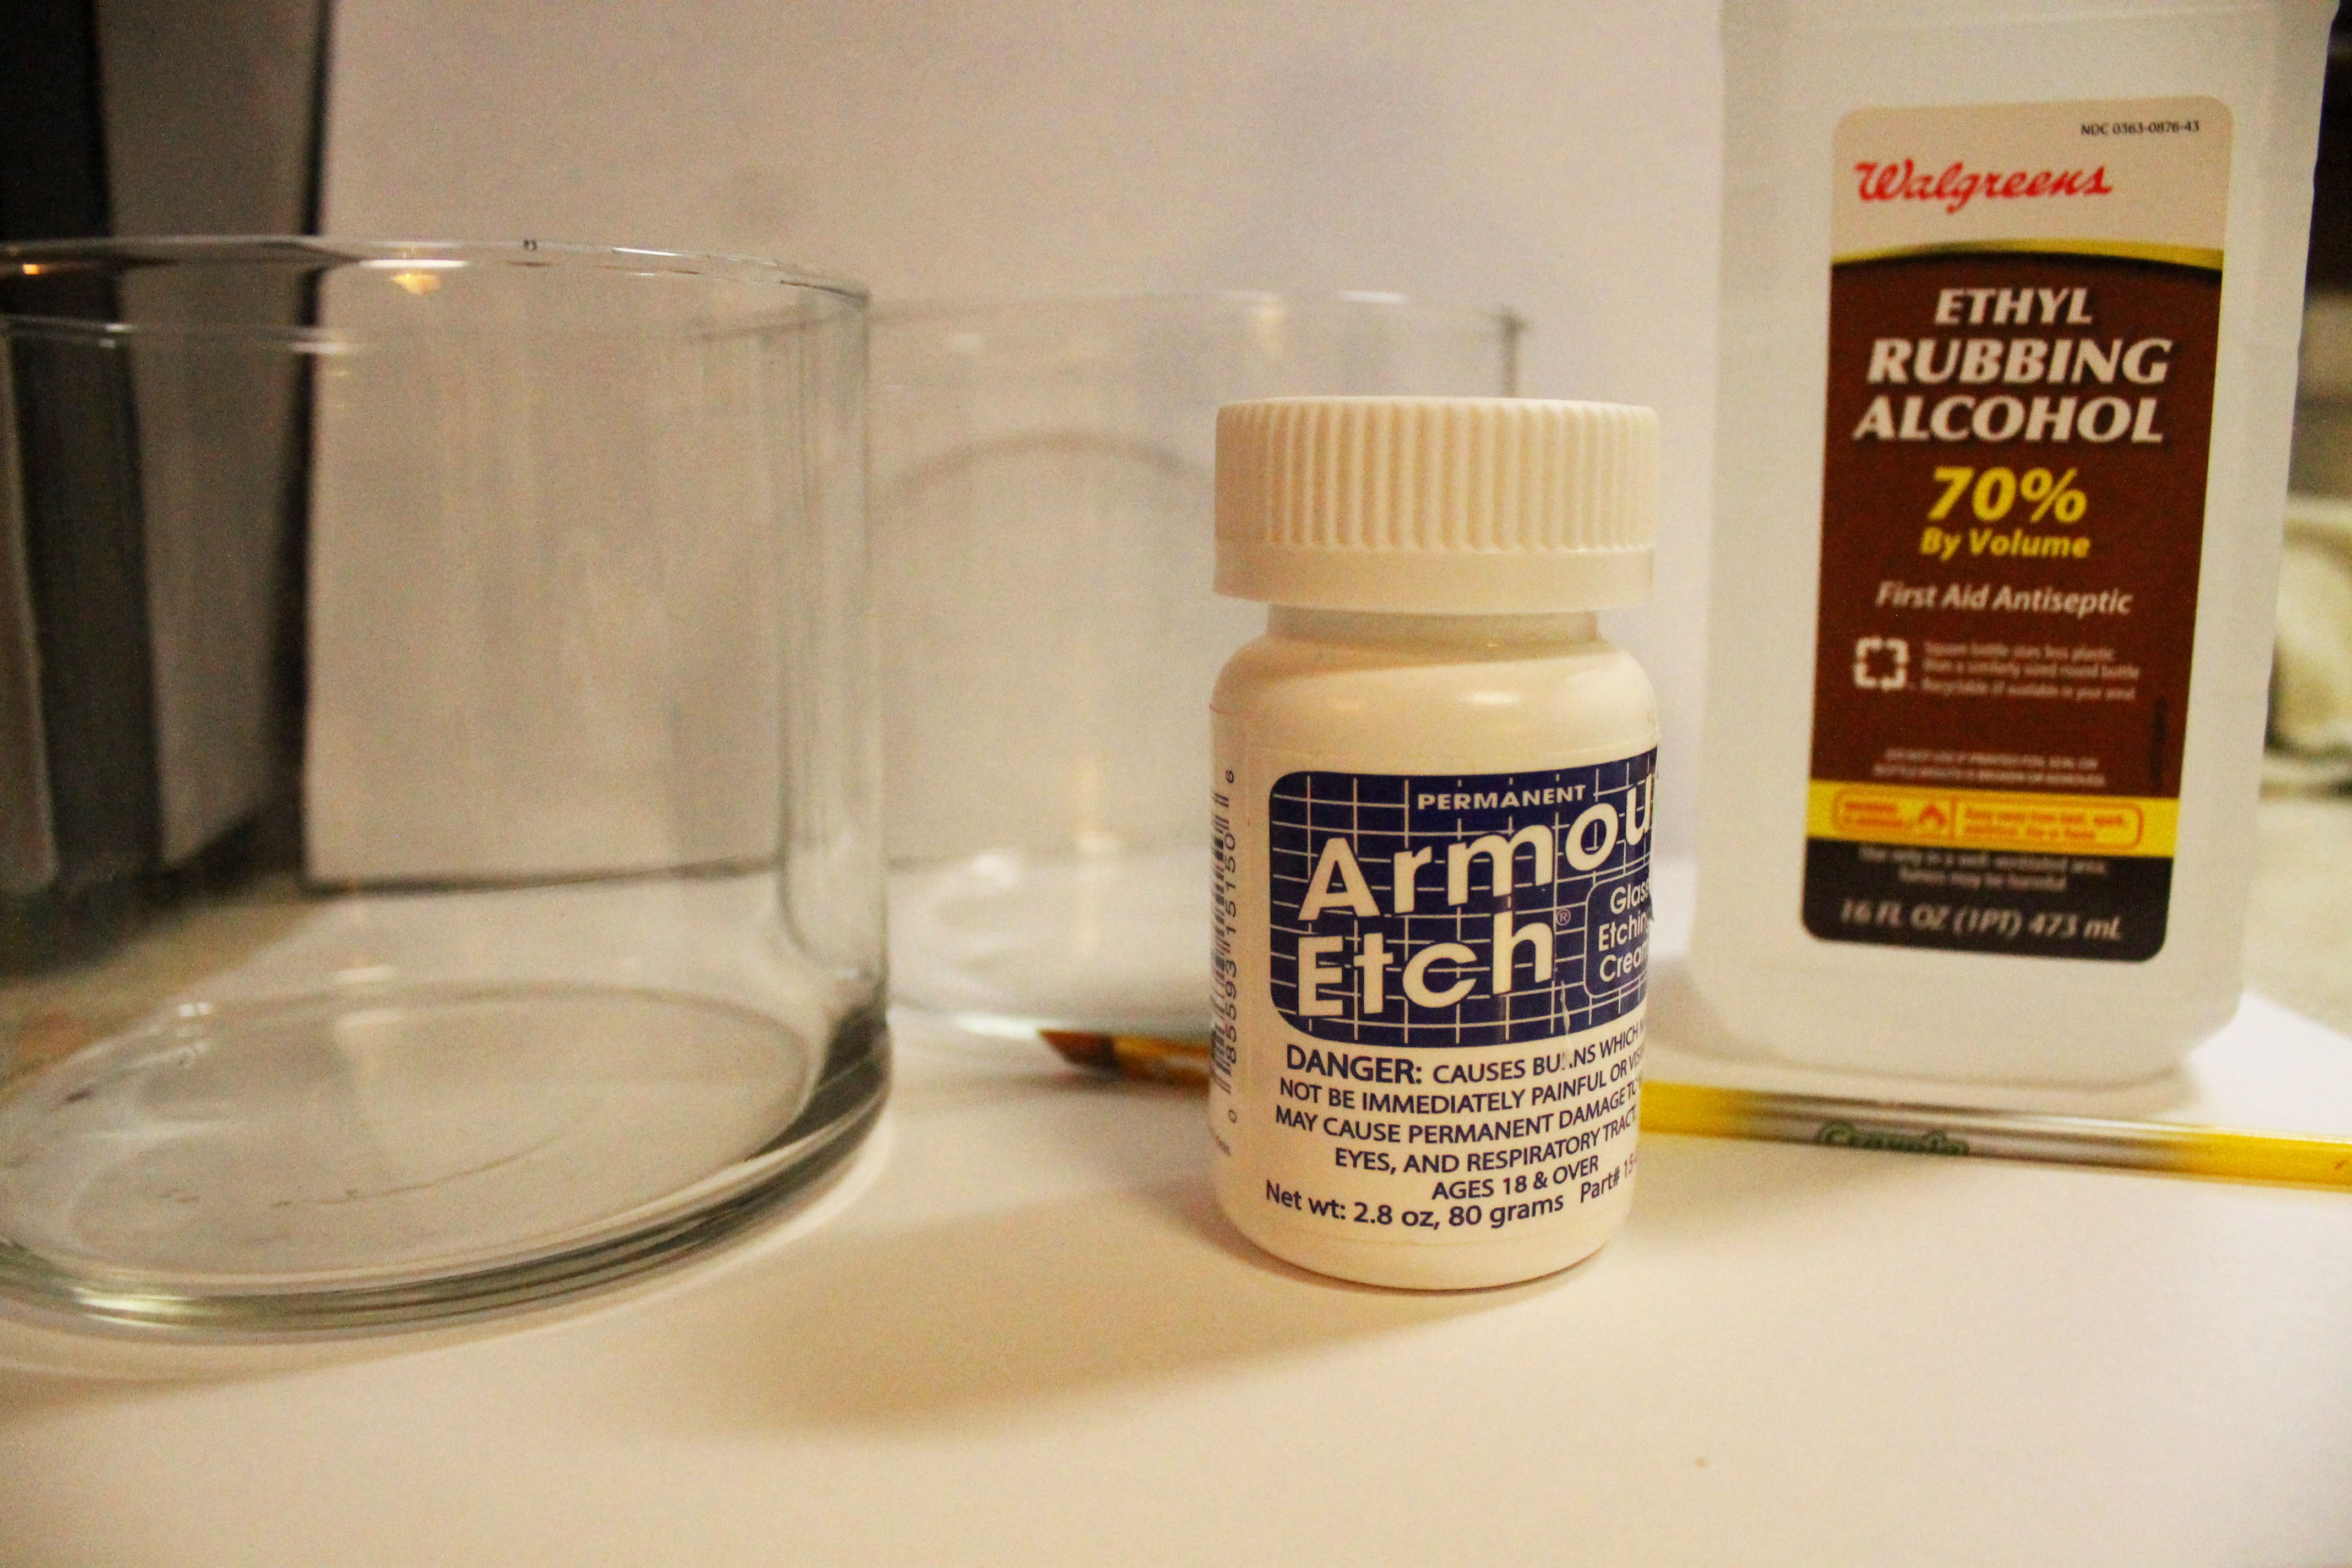
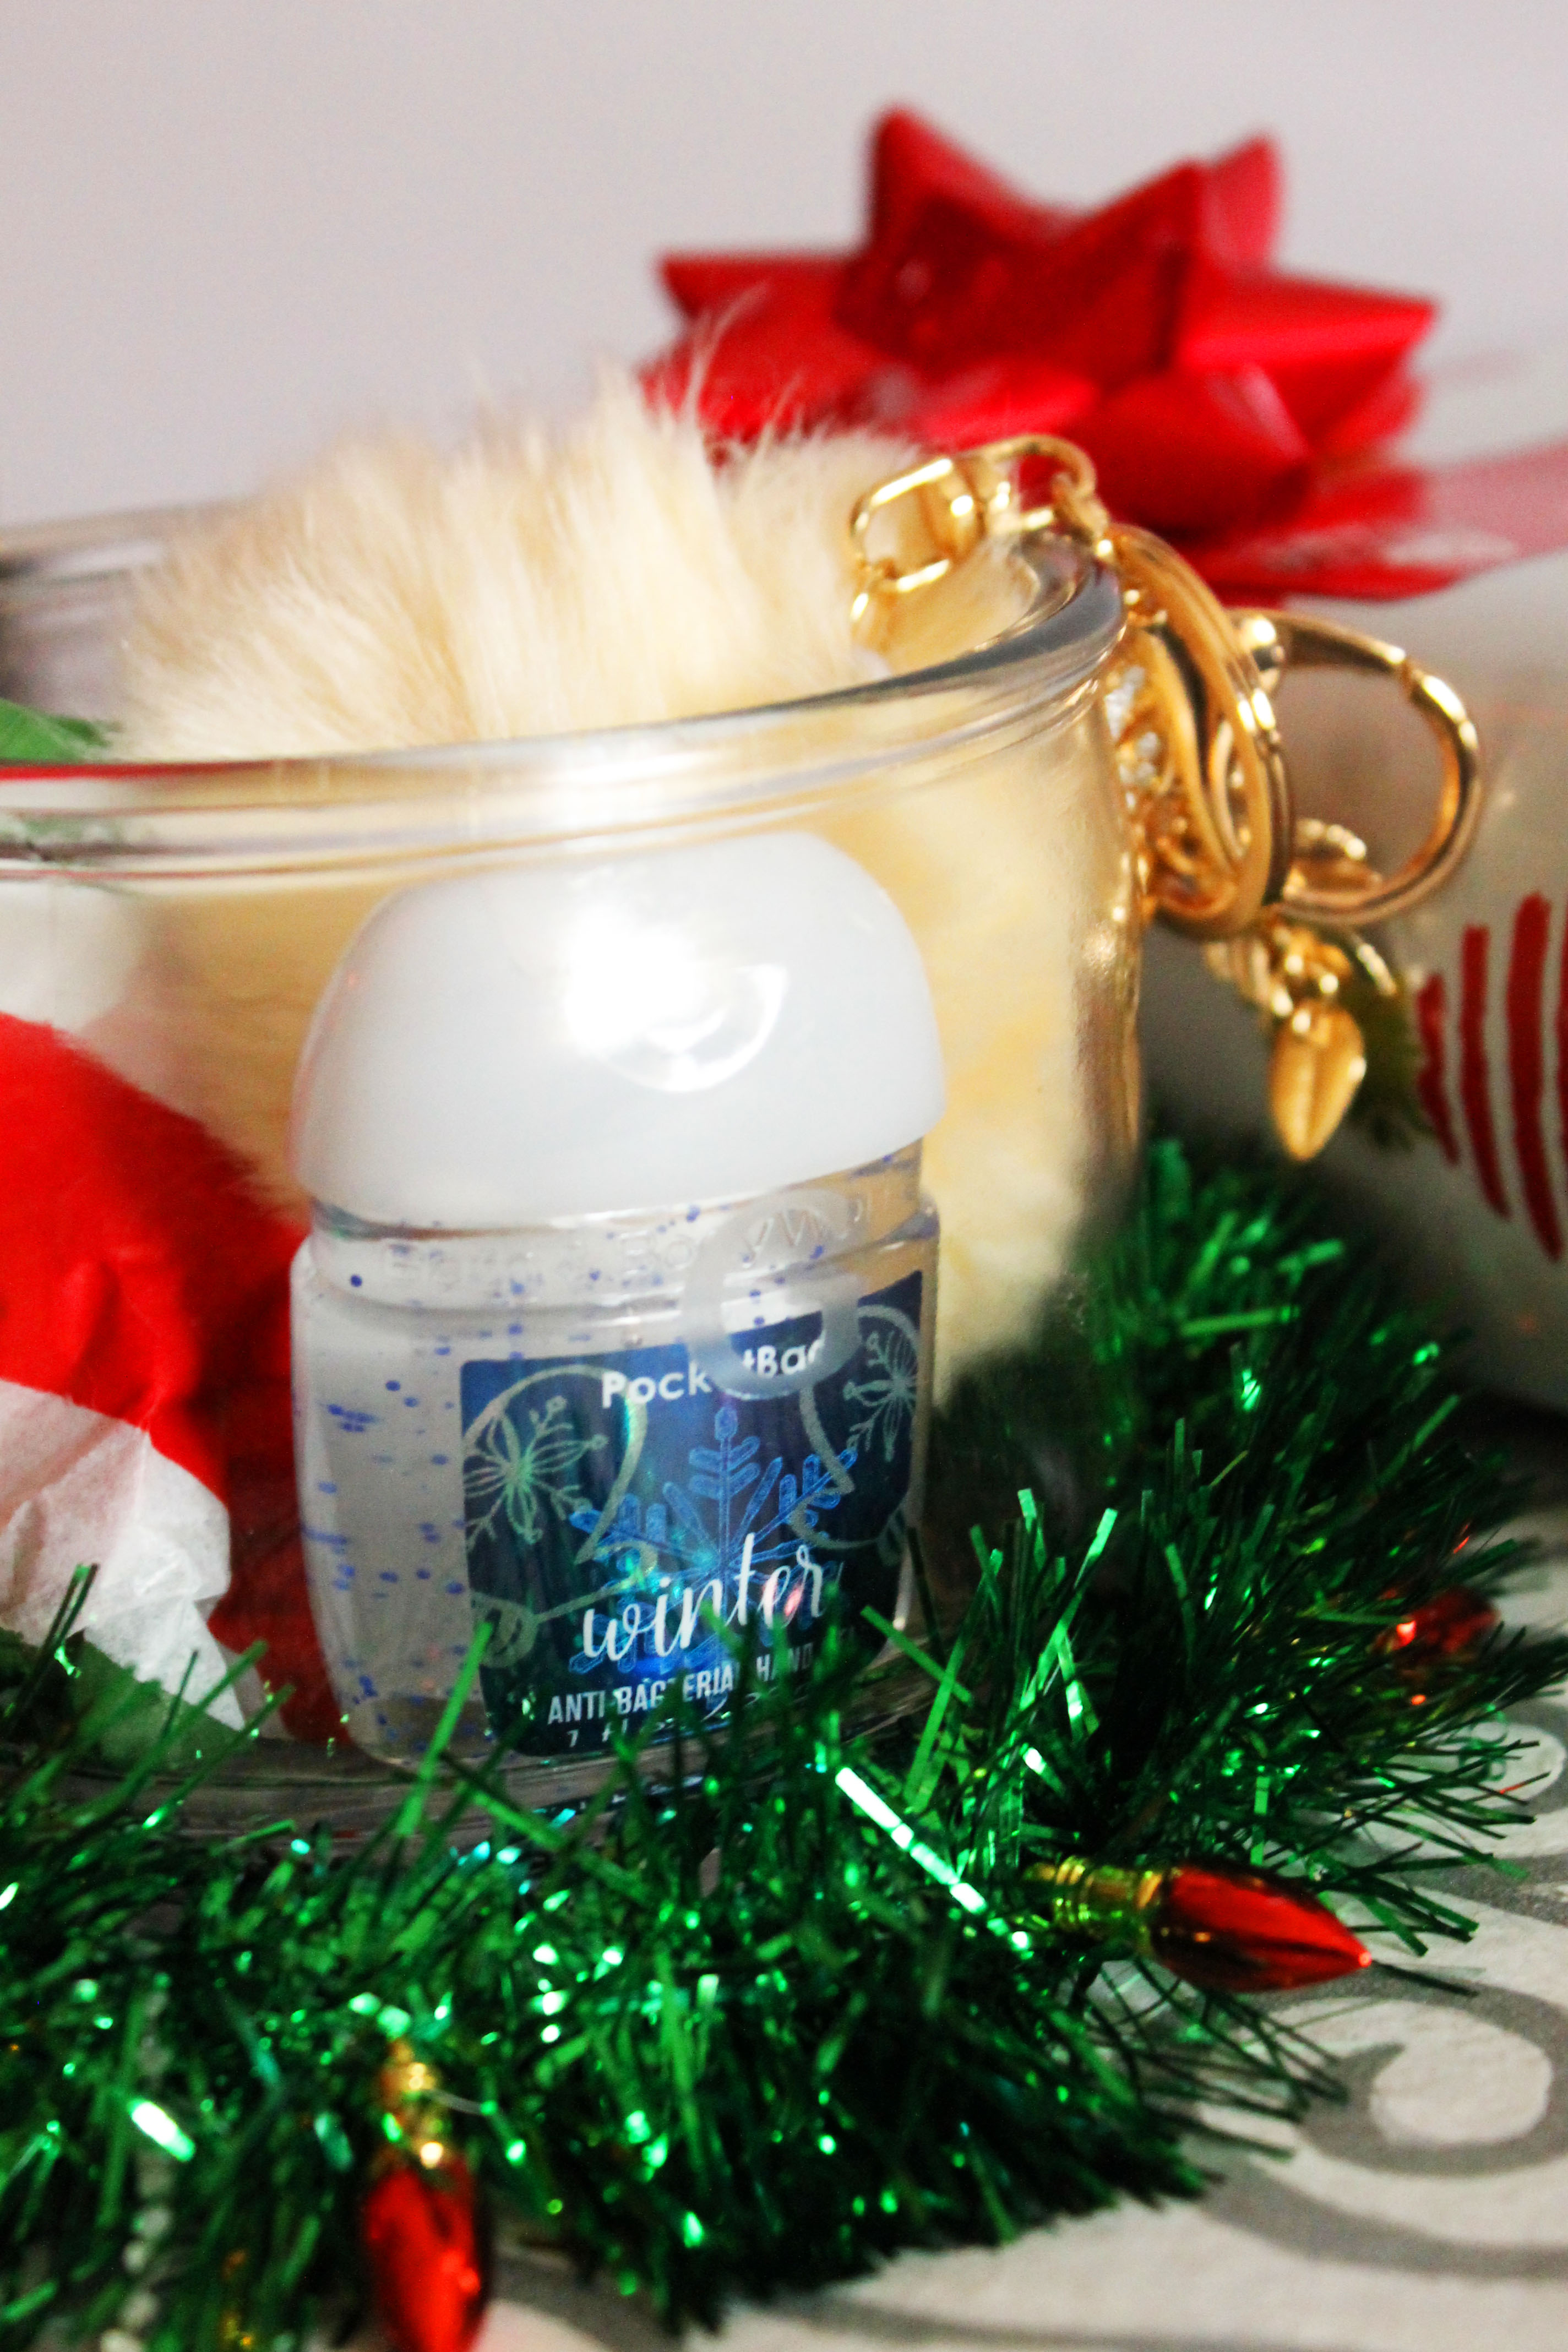
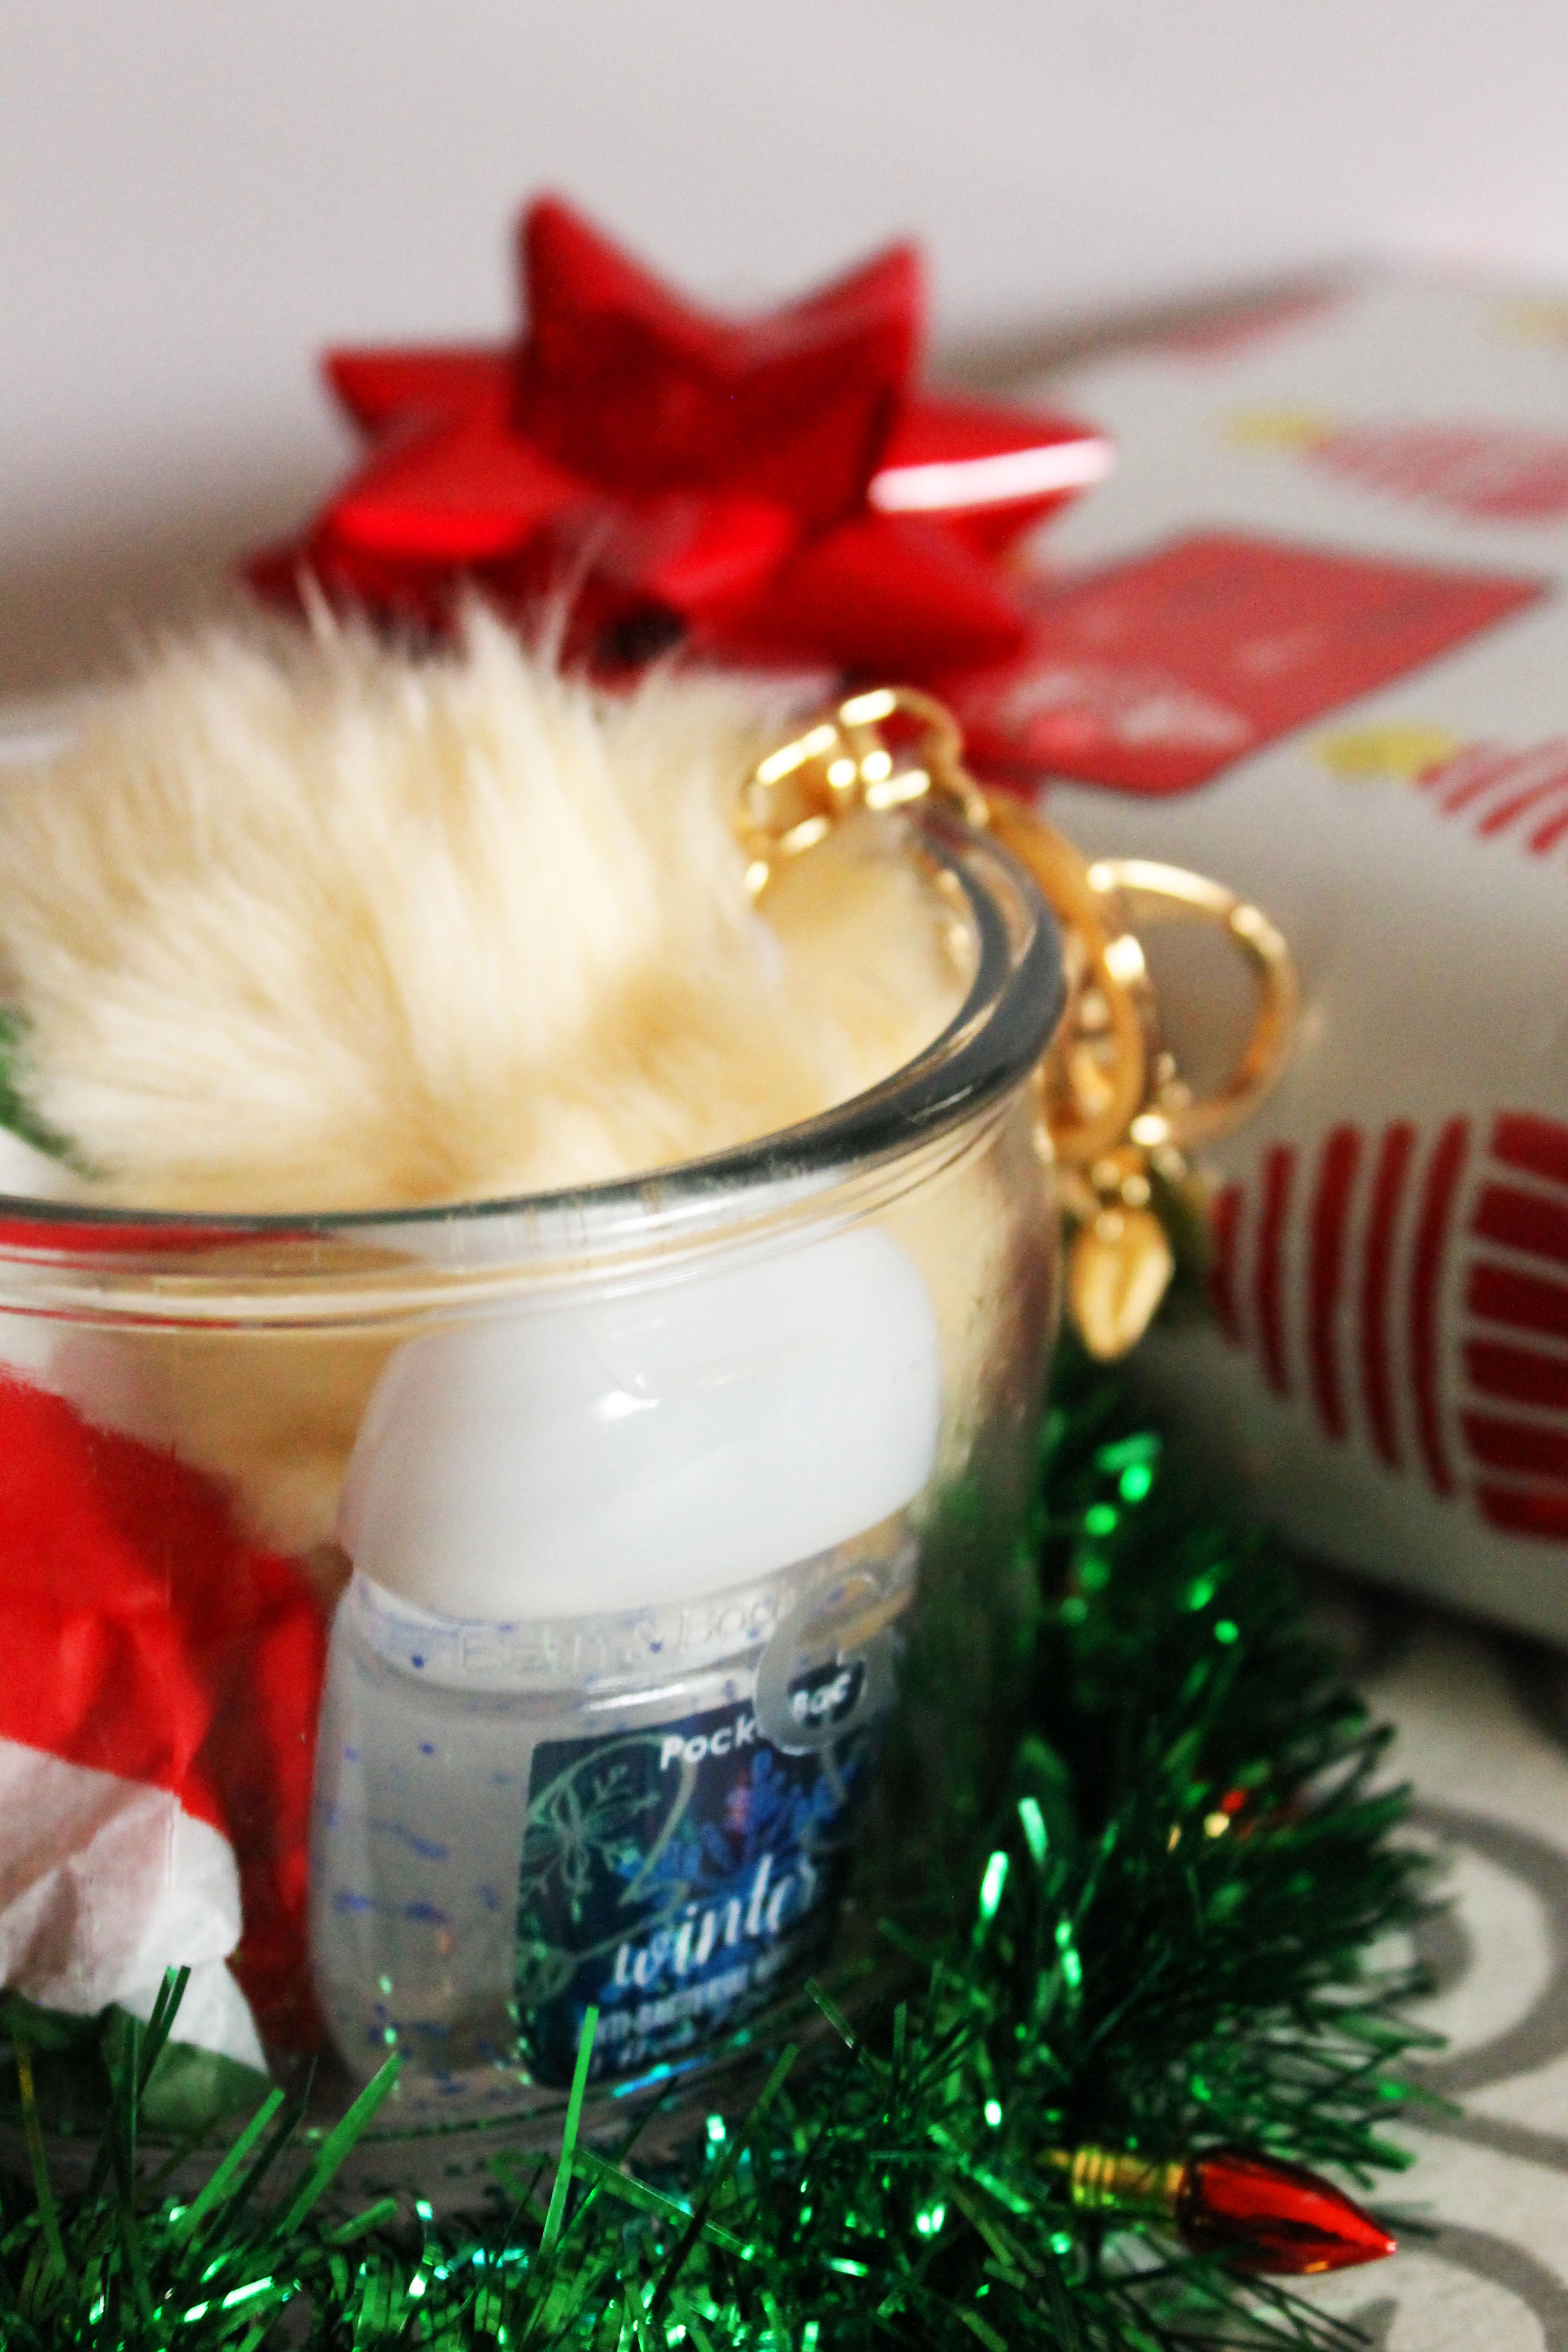
Generally I think you can use any glass container! For this gift idea however, we recycled candle jars from Bath and Body Works and used those.
Step One:
Clean your glass with isopropyl rubbing alcohol so there are no smudges or fingerprints. We also washed our glasses out with soap and water before just for good measure!
Step Two:
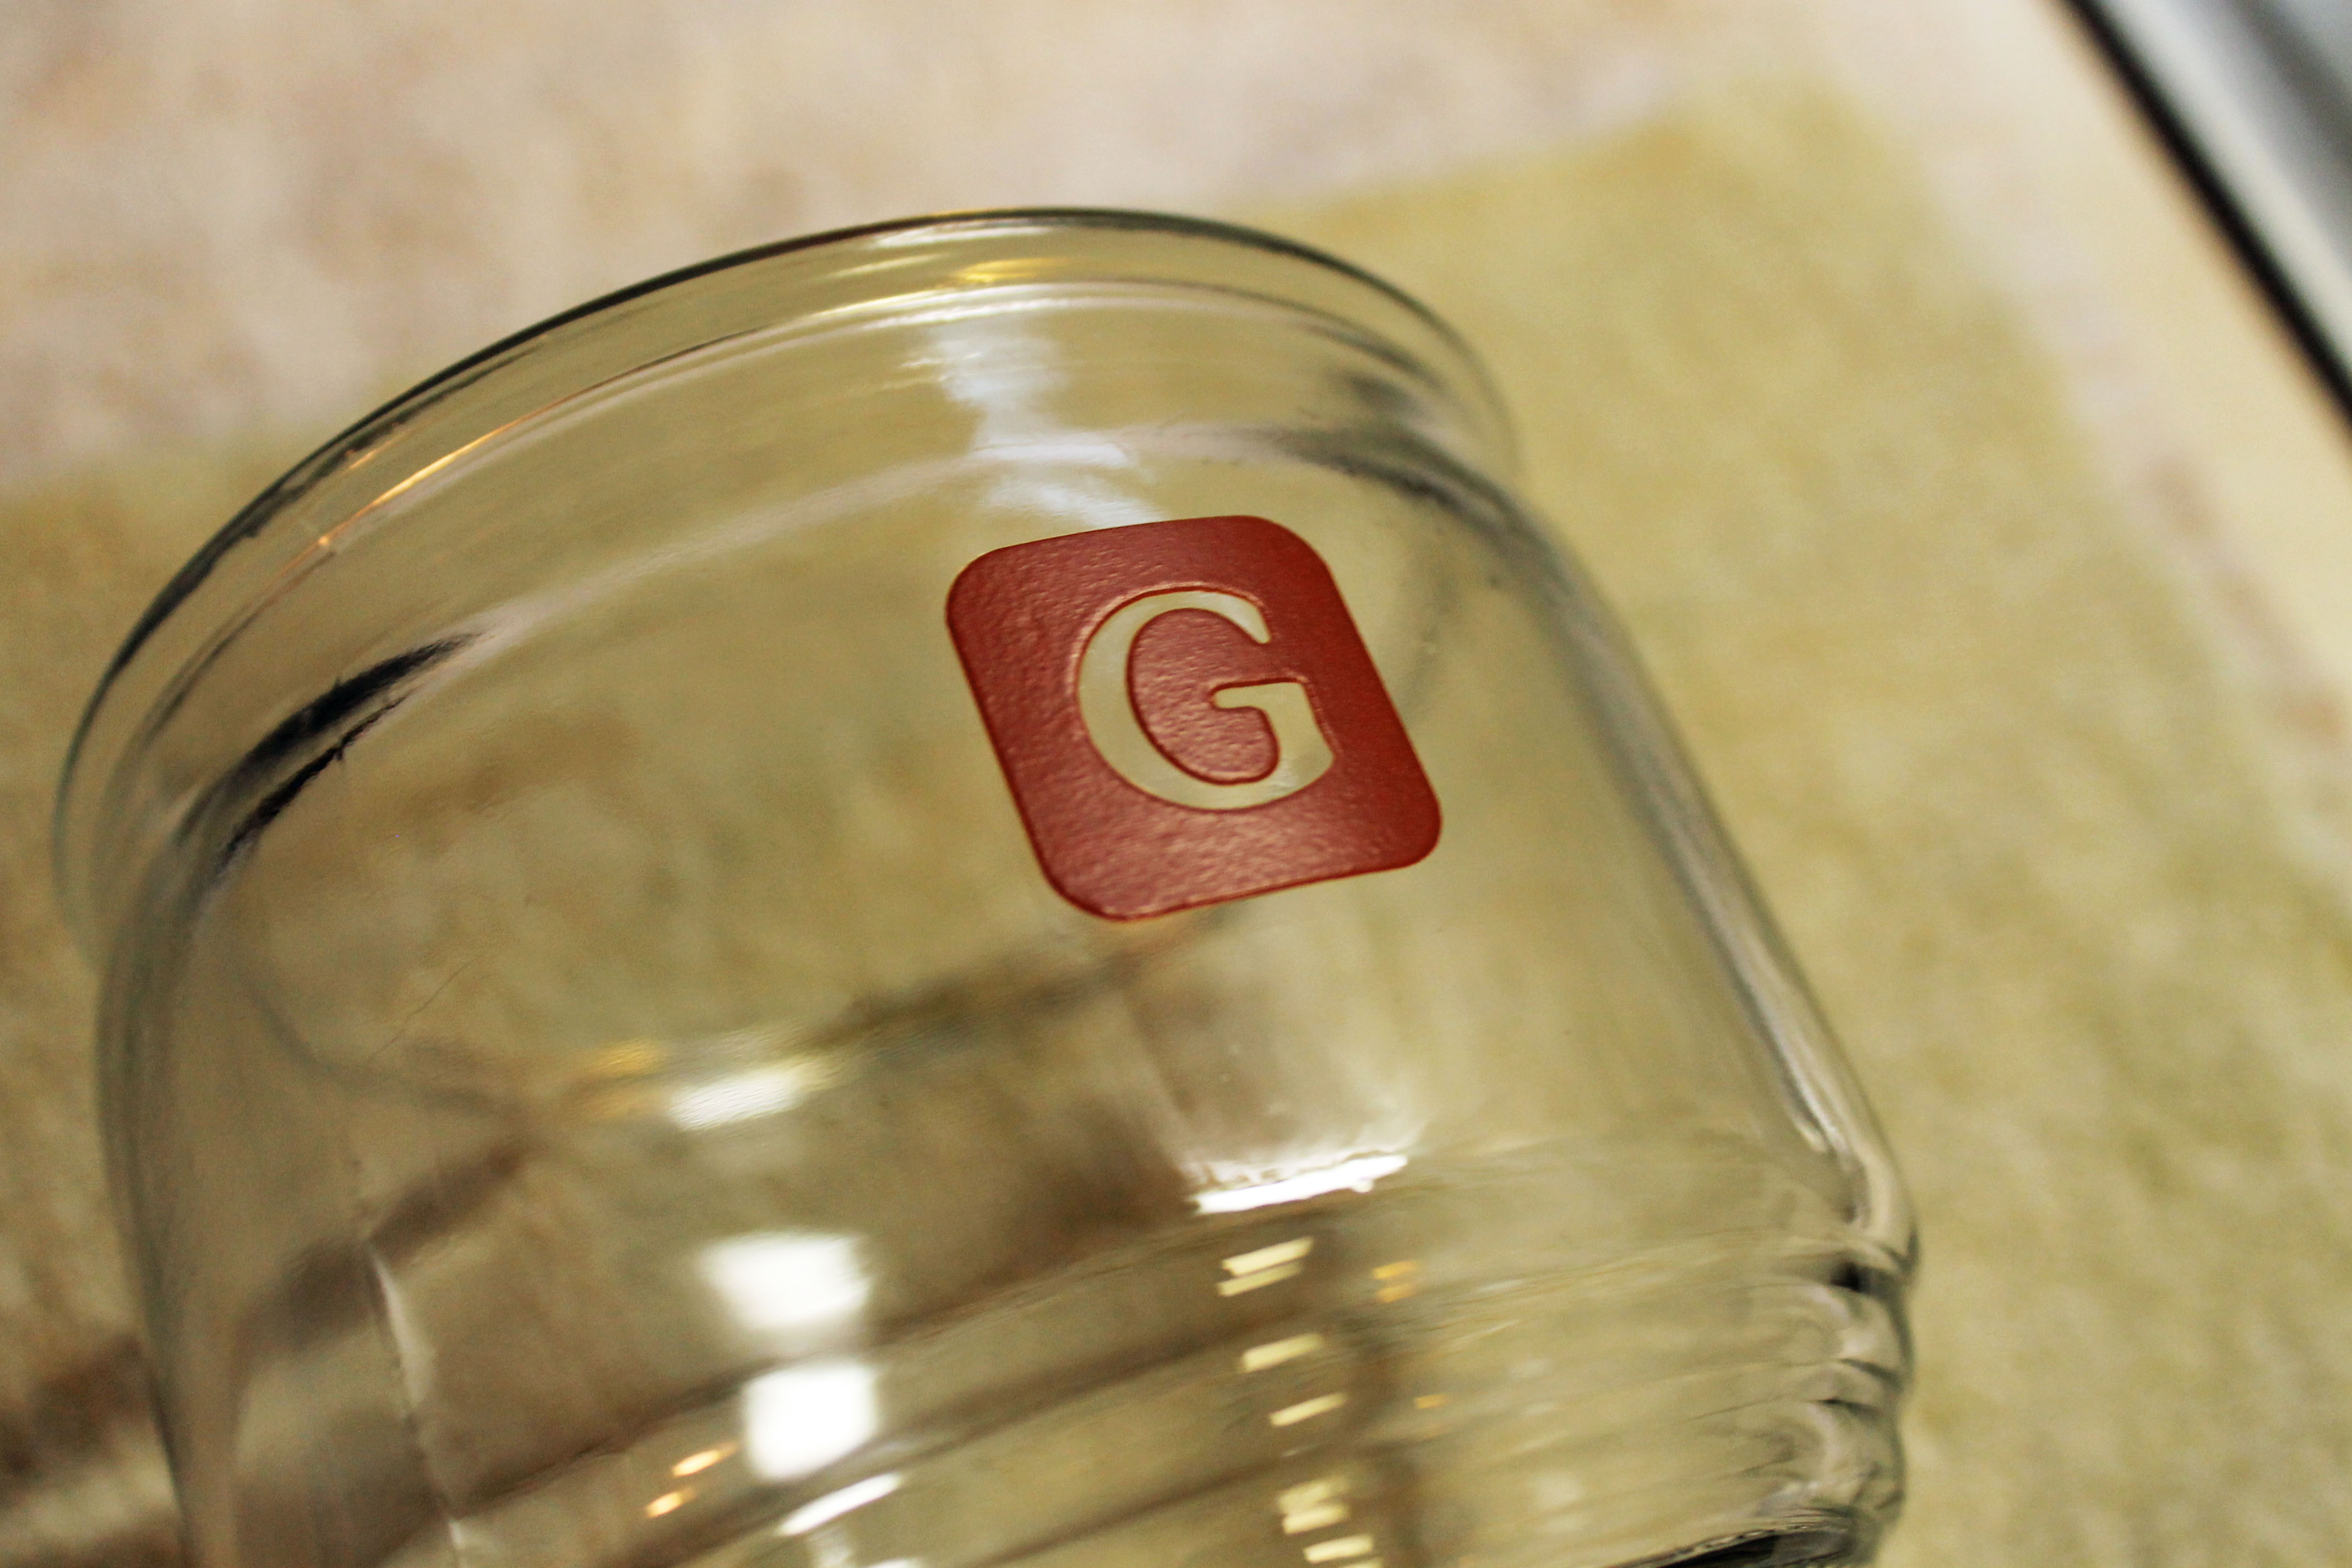
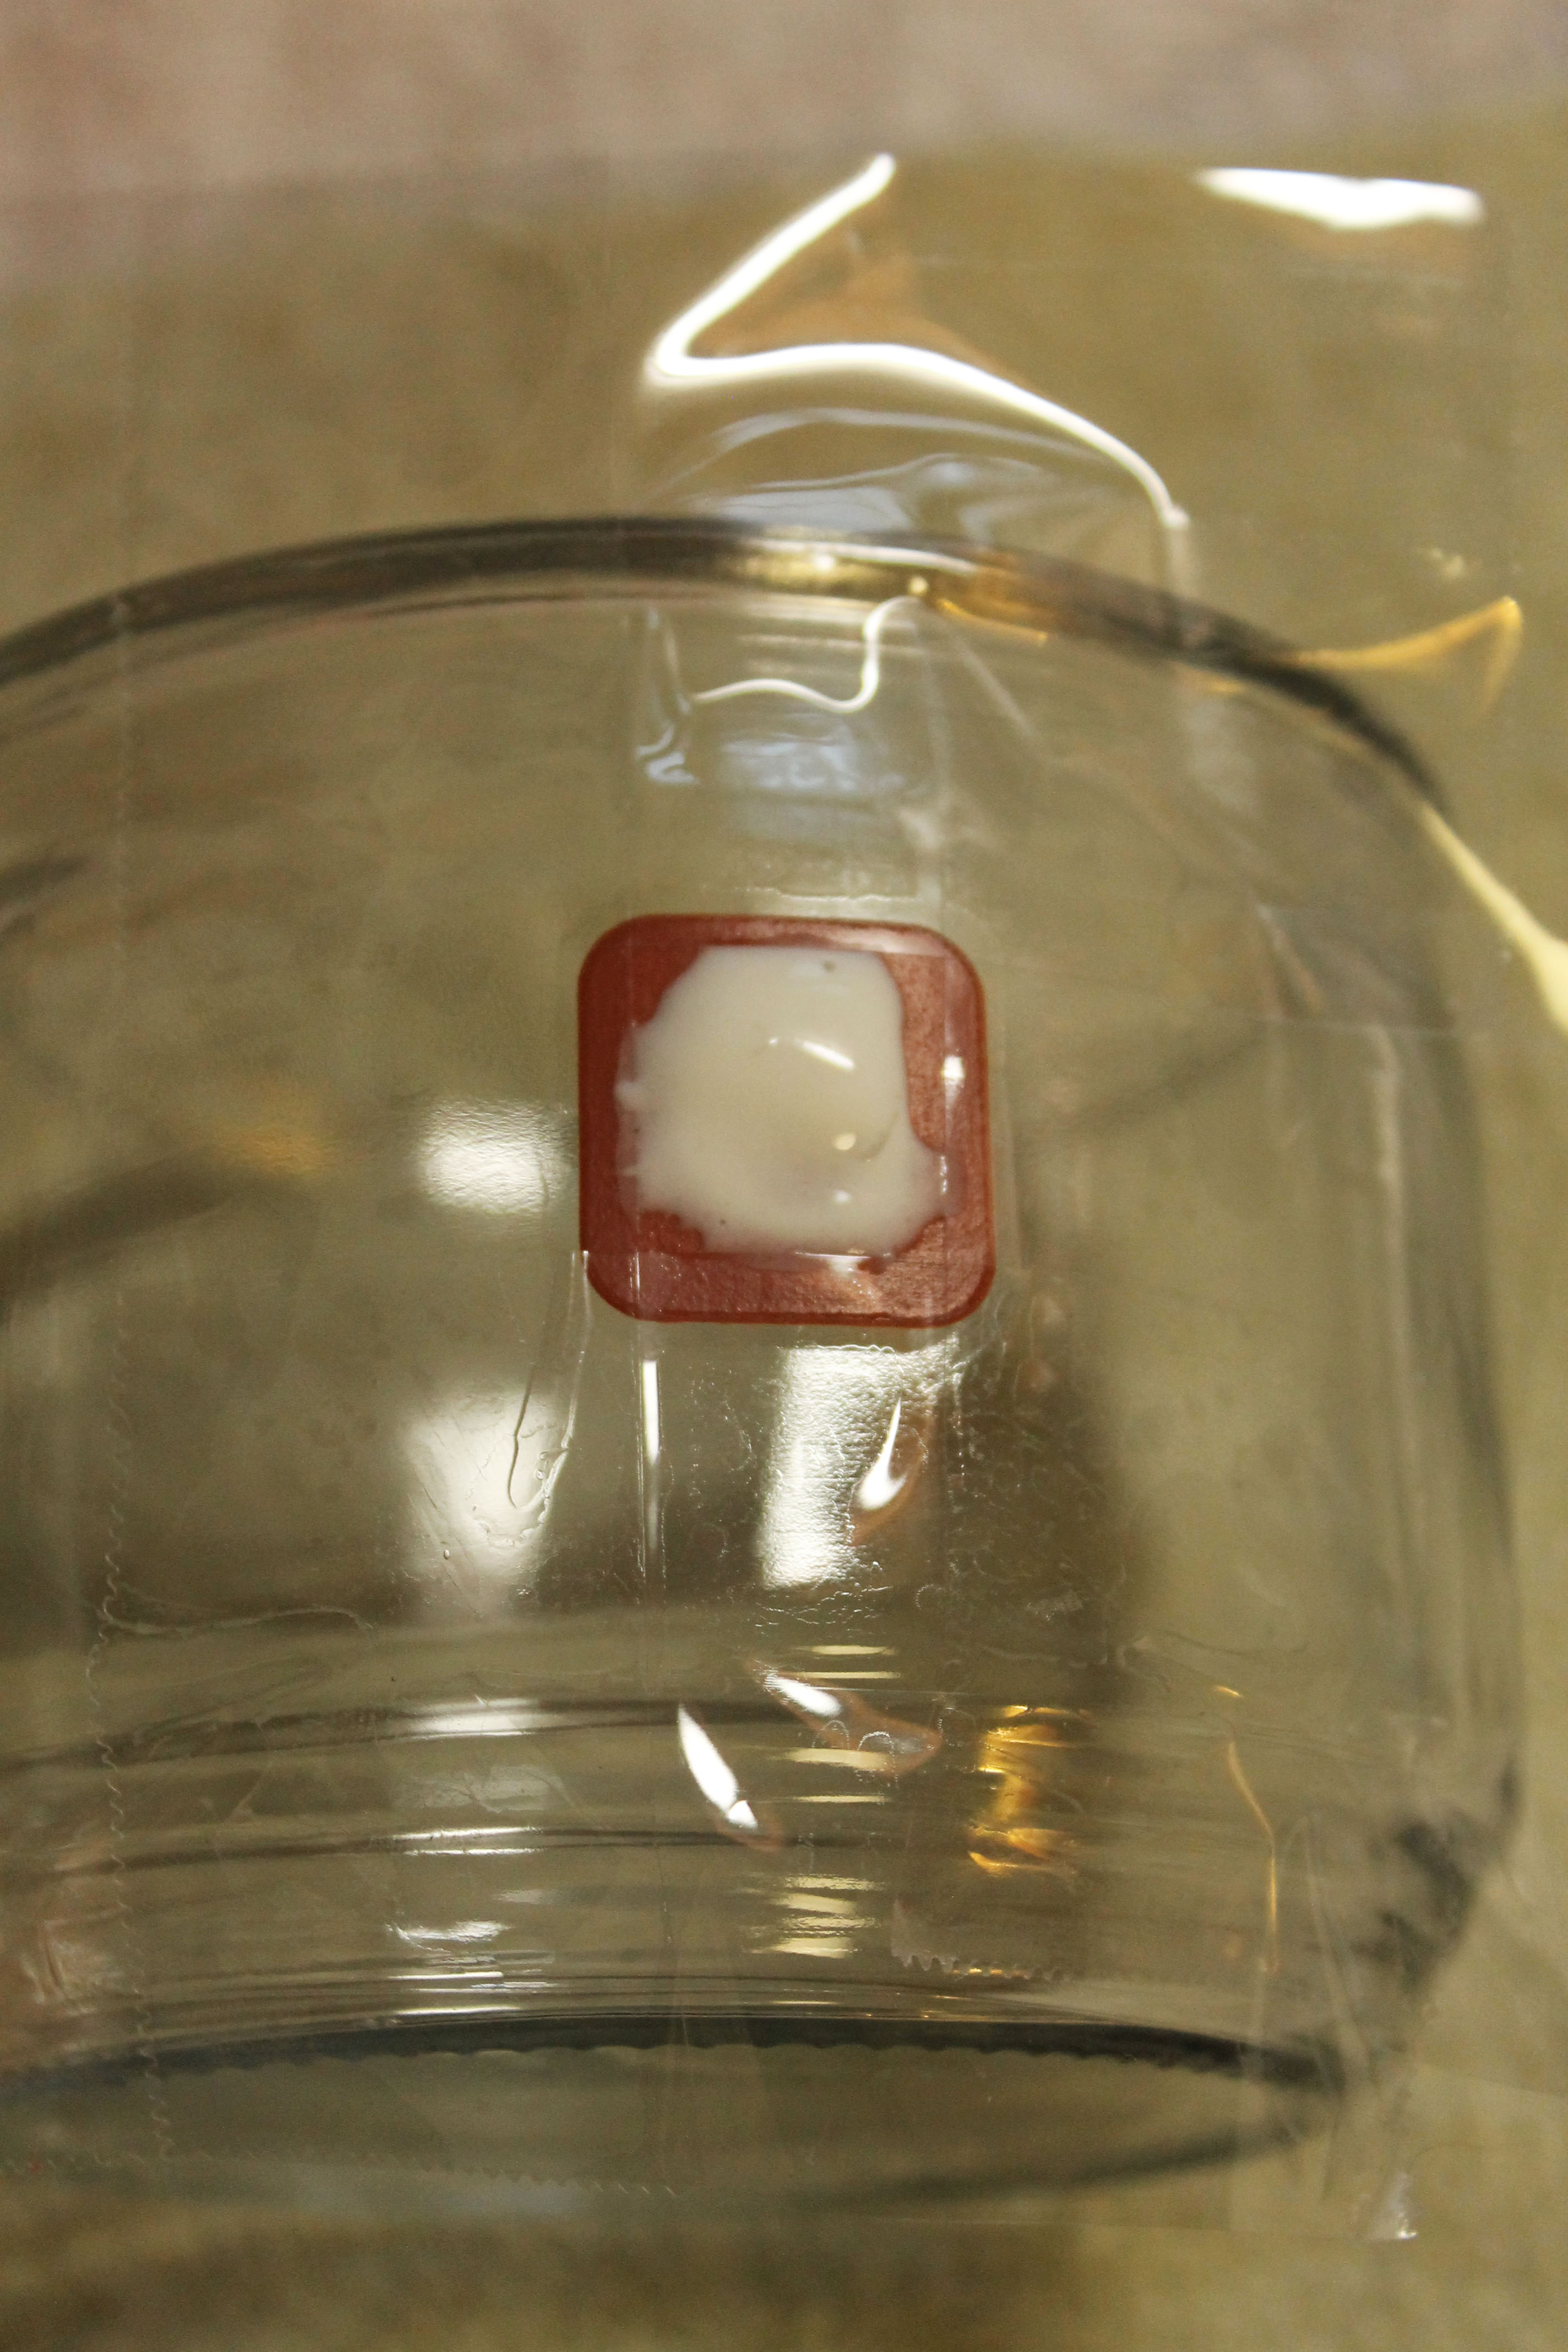
Put your stencil where you want it, make sure it’s straight and use the painters tape to block off the parts of the glass that you do not want etched. We didn’t have any painters tape so we just used shipping/masking tape.

Step Three:
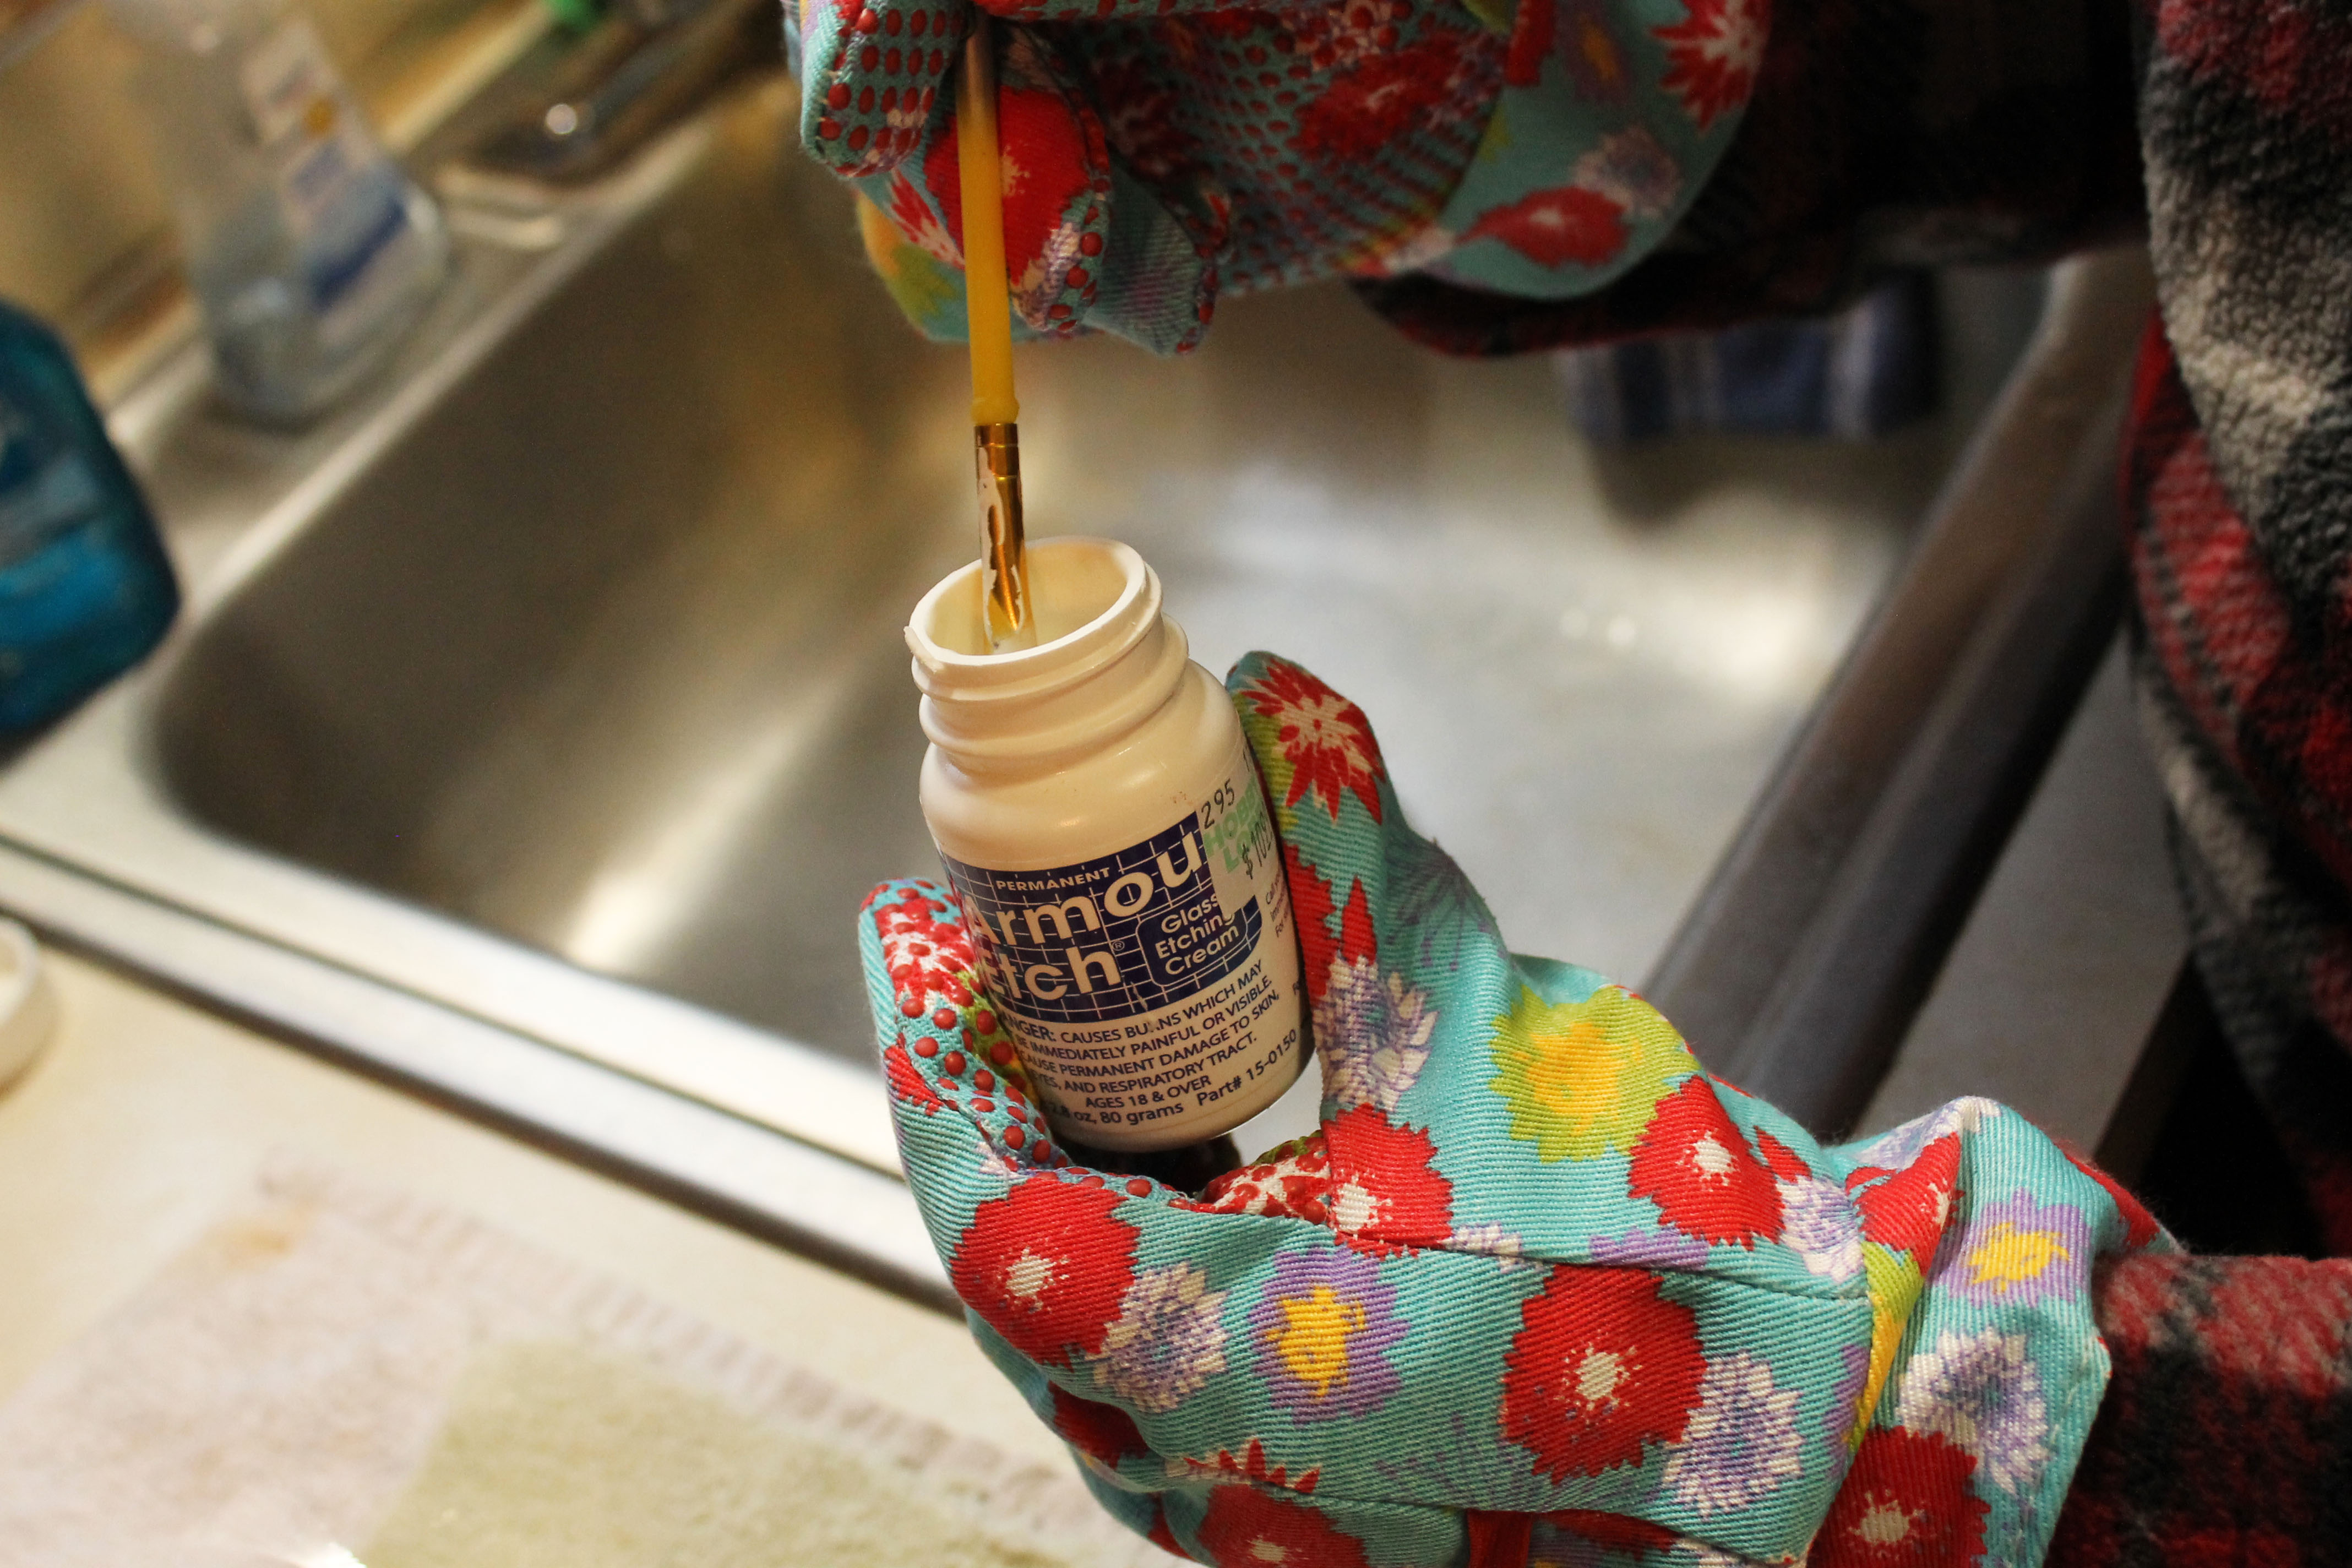
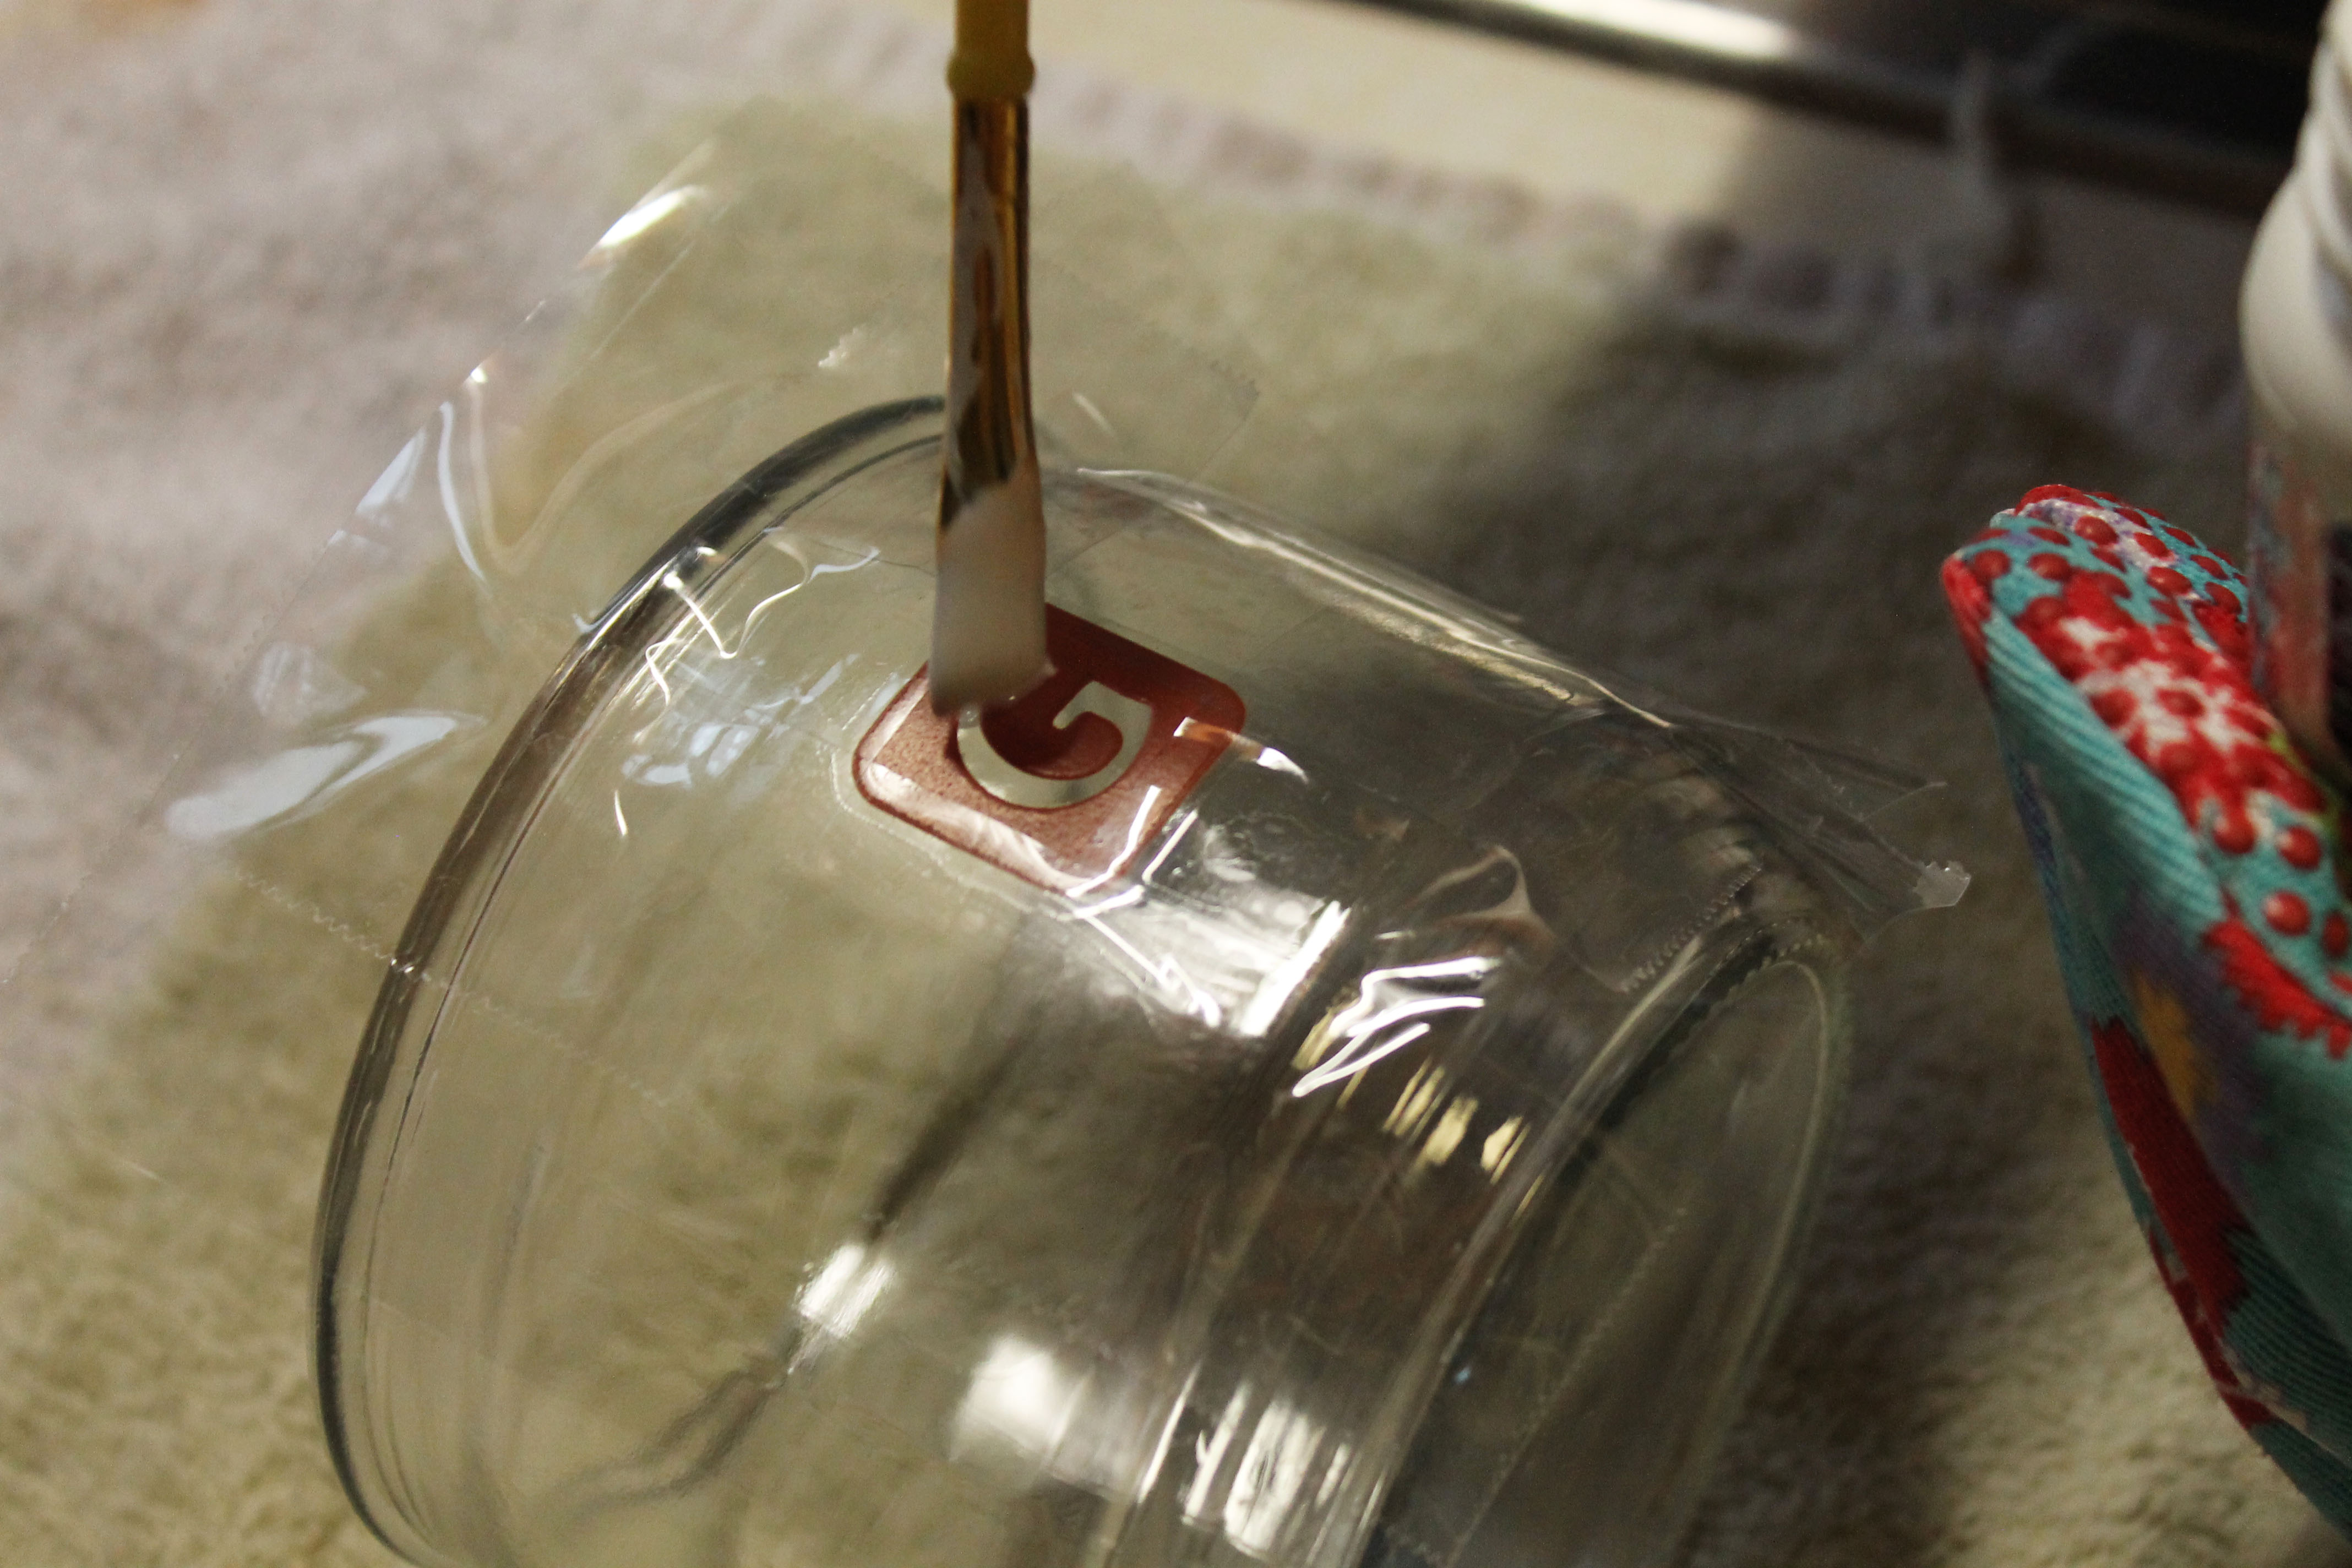
After it’s all taped up, put gloves and eye protection on. There were some safety gloves next to the etching solution at the store but I think you can also use plastic gloves. Gardening gloves work too because that’s what we used! It’s really important to wear gloves. This solution is highly acidic os be careful! Then take a small paintbrush and dip it in the etching solution. Pat it on the stencil until you have a pretty thick layer. I found that patting it on made the solution stay better than actually brushing. Brushing made it kind of wipe off and that’s not what you want! So I patted on a thick layer and made sure I couldn’t see the outline of the letter anymore.
Step Four:
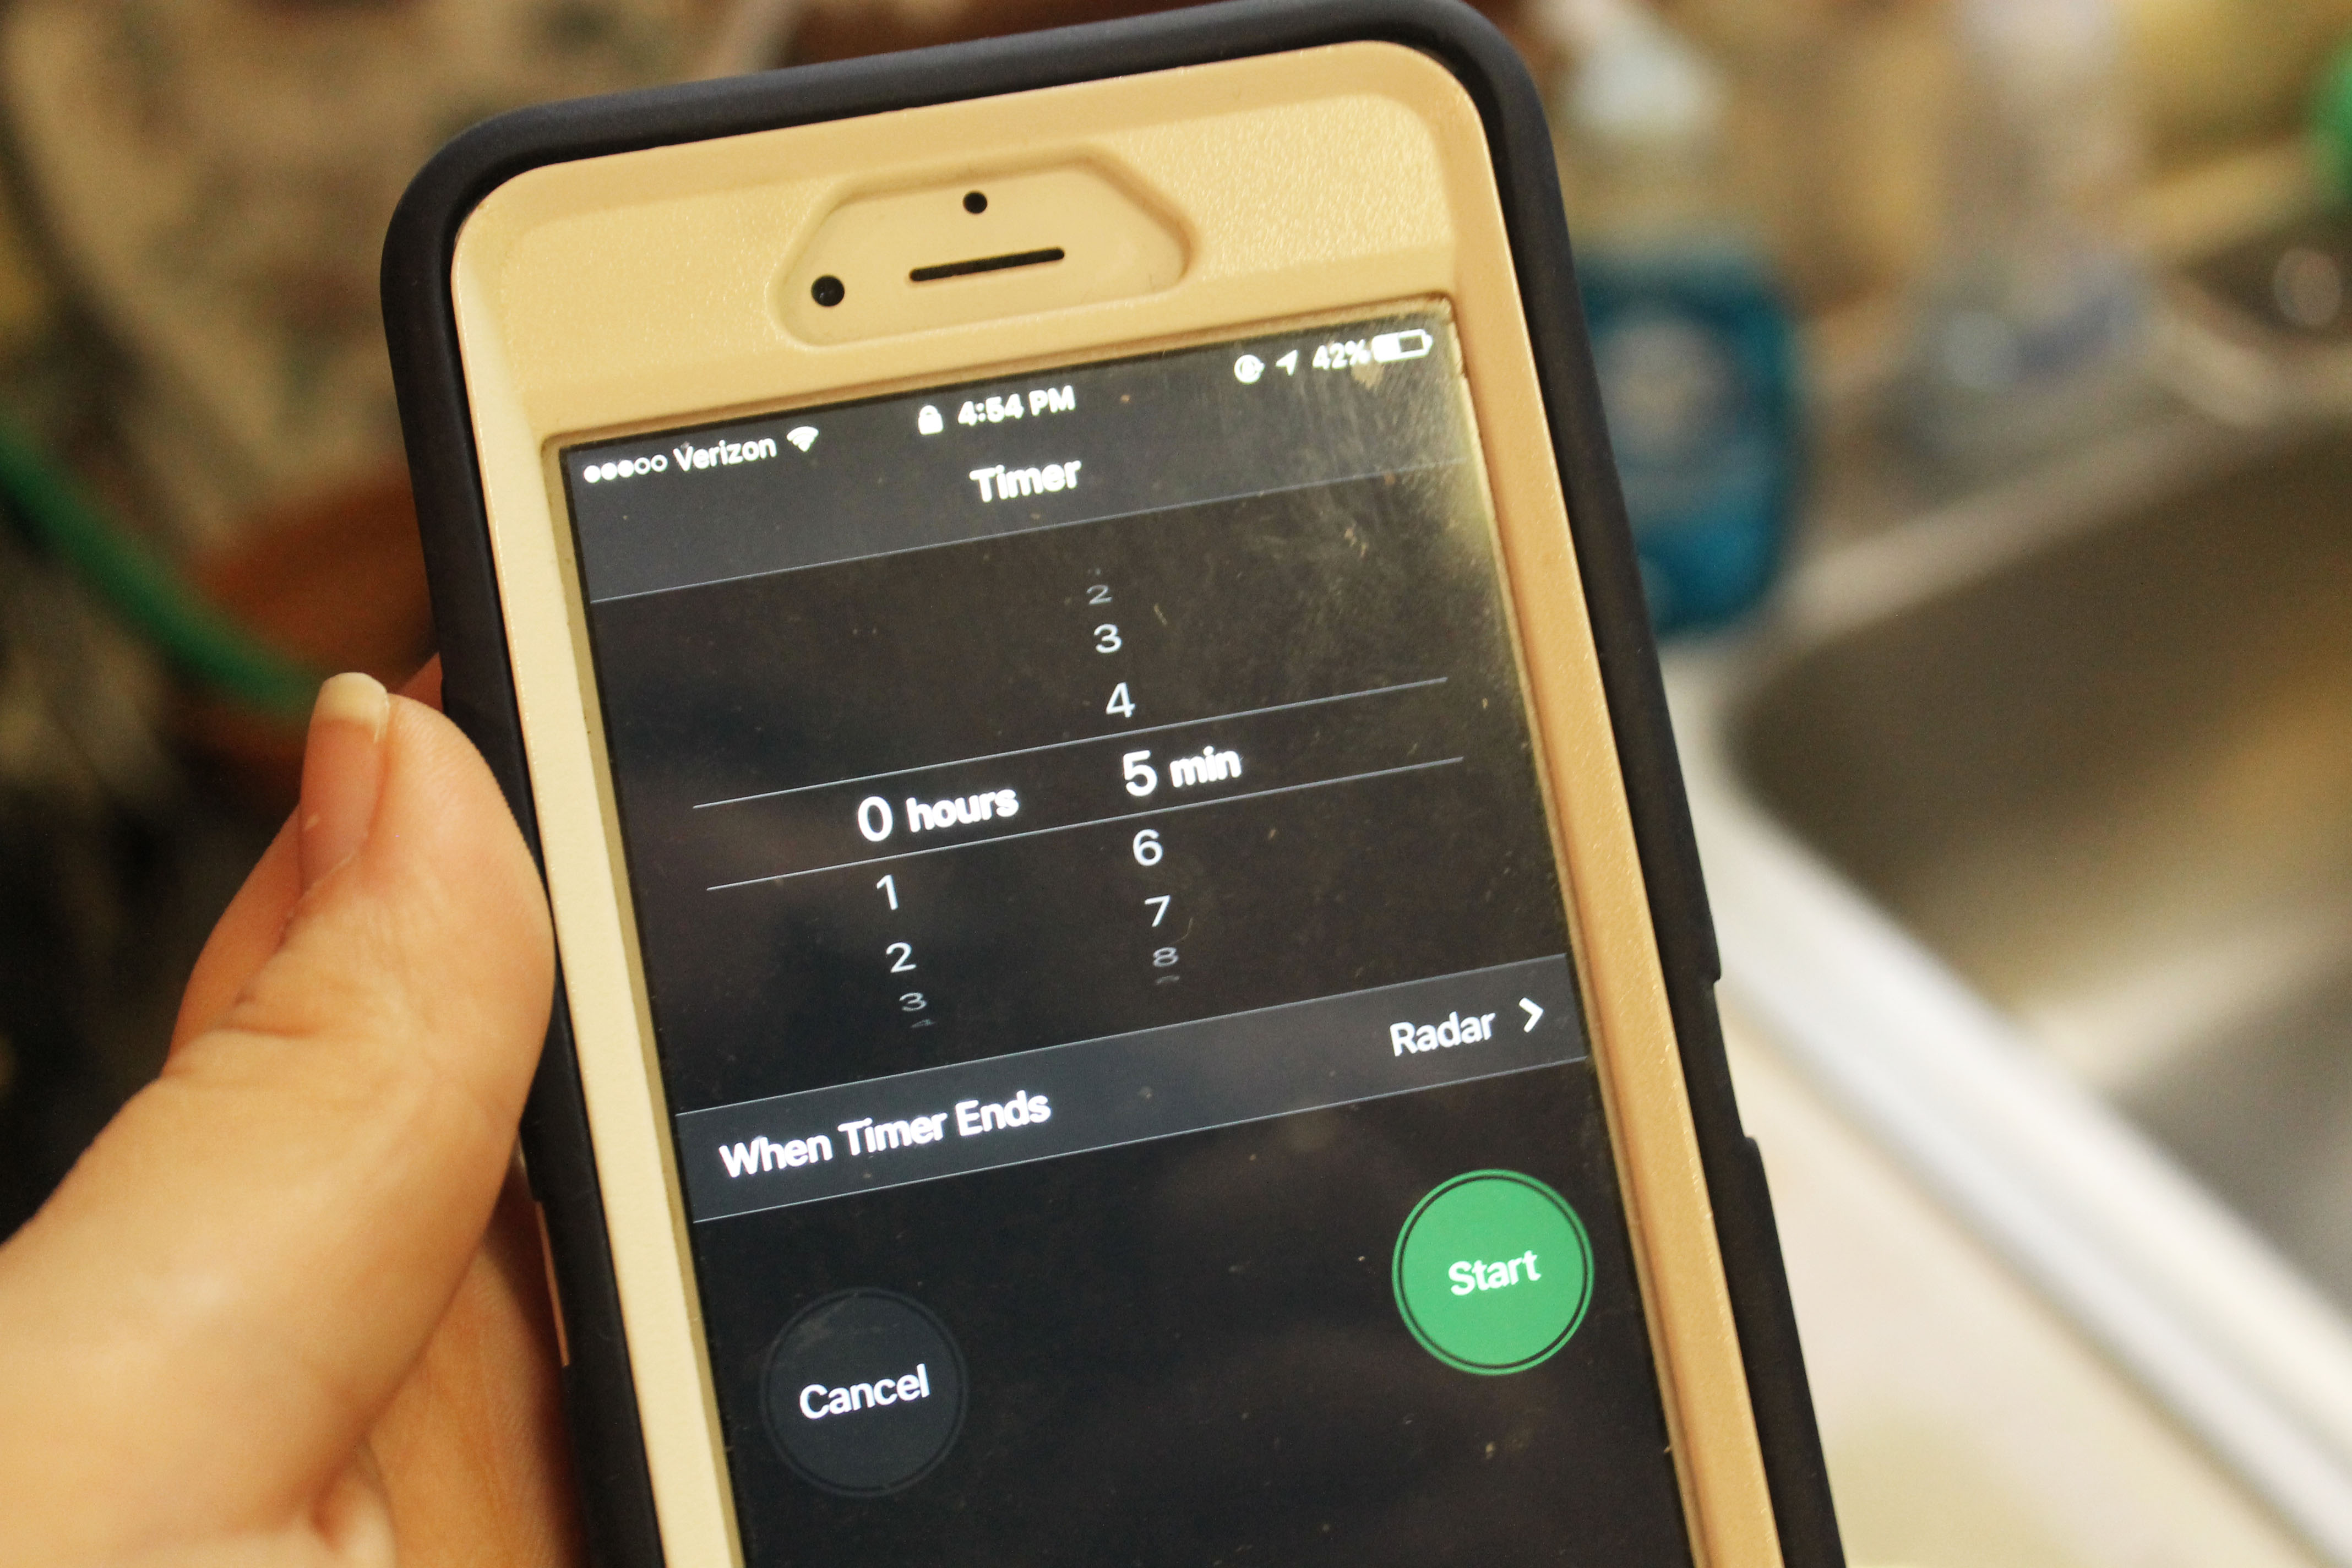
Now time let it sit for 5 minutes. I timed this on my phone. It was suggested in the tutorial I went off of to swirl (or just tap more) on the solution two times during the five minutes. Once after a minute and a half (3:30 minutes) and once when there is only a minute and a half left (1:30).
Step Five:
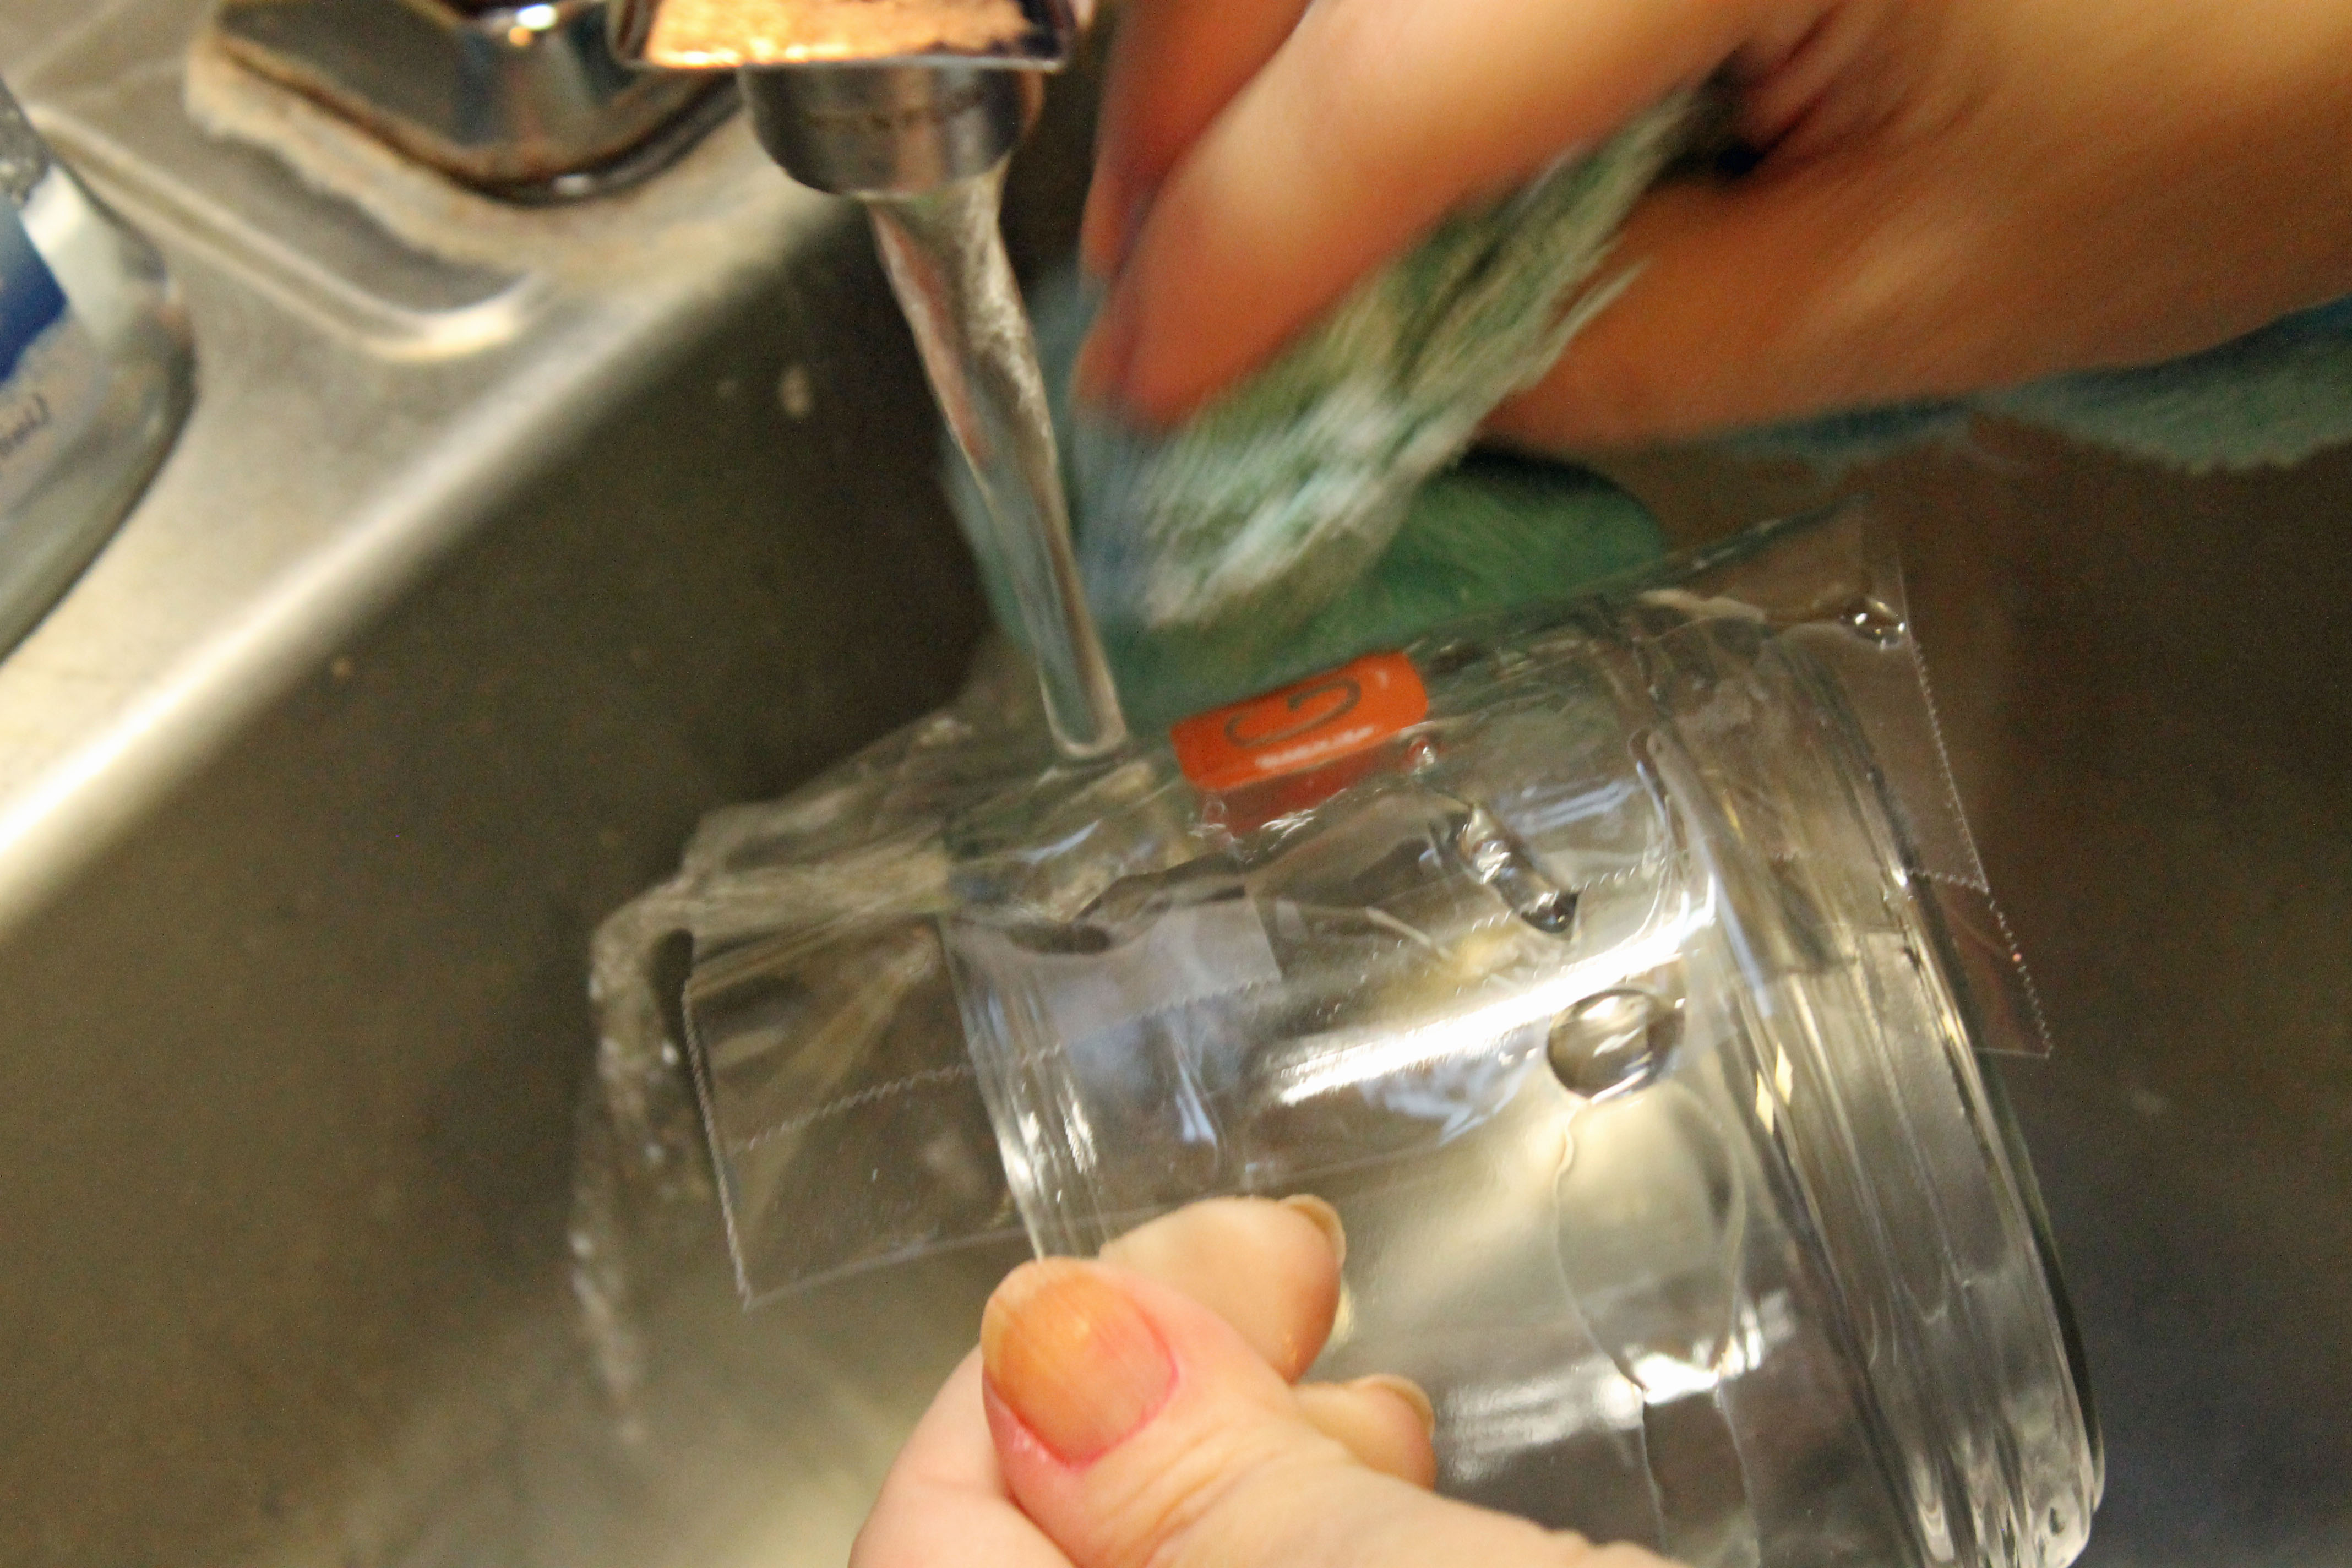
There is no harm in leaving it on for longer than five minutes so do not feel rushed! After the time is up, wash it off with a ratty old washcloth and hot water. Then peel the tape and stencil off.
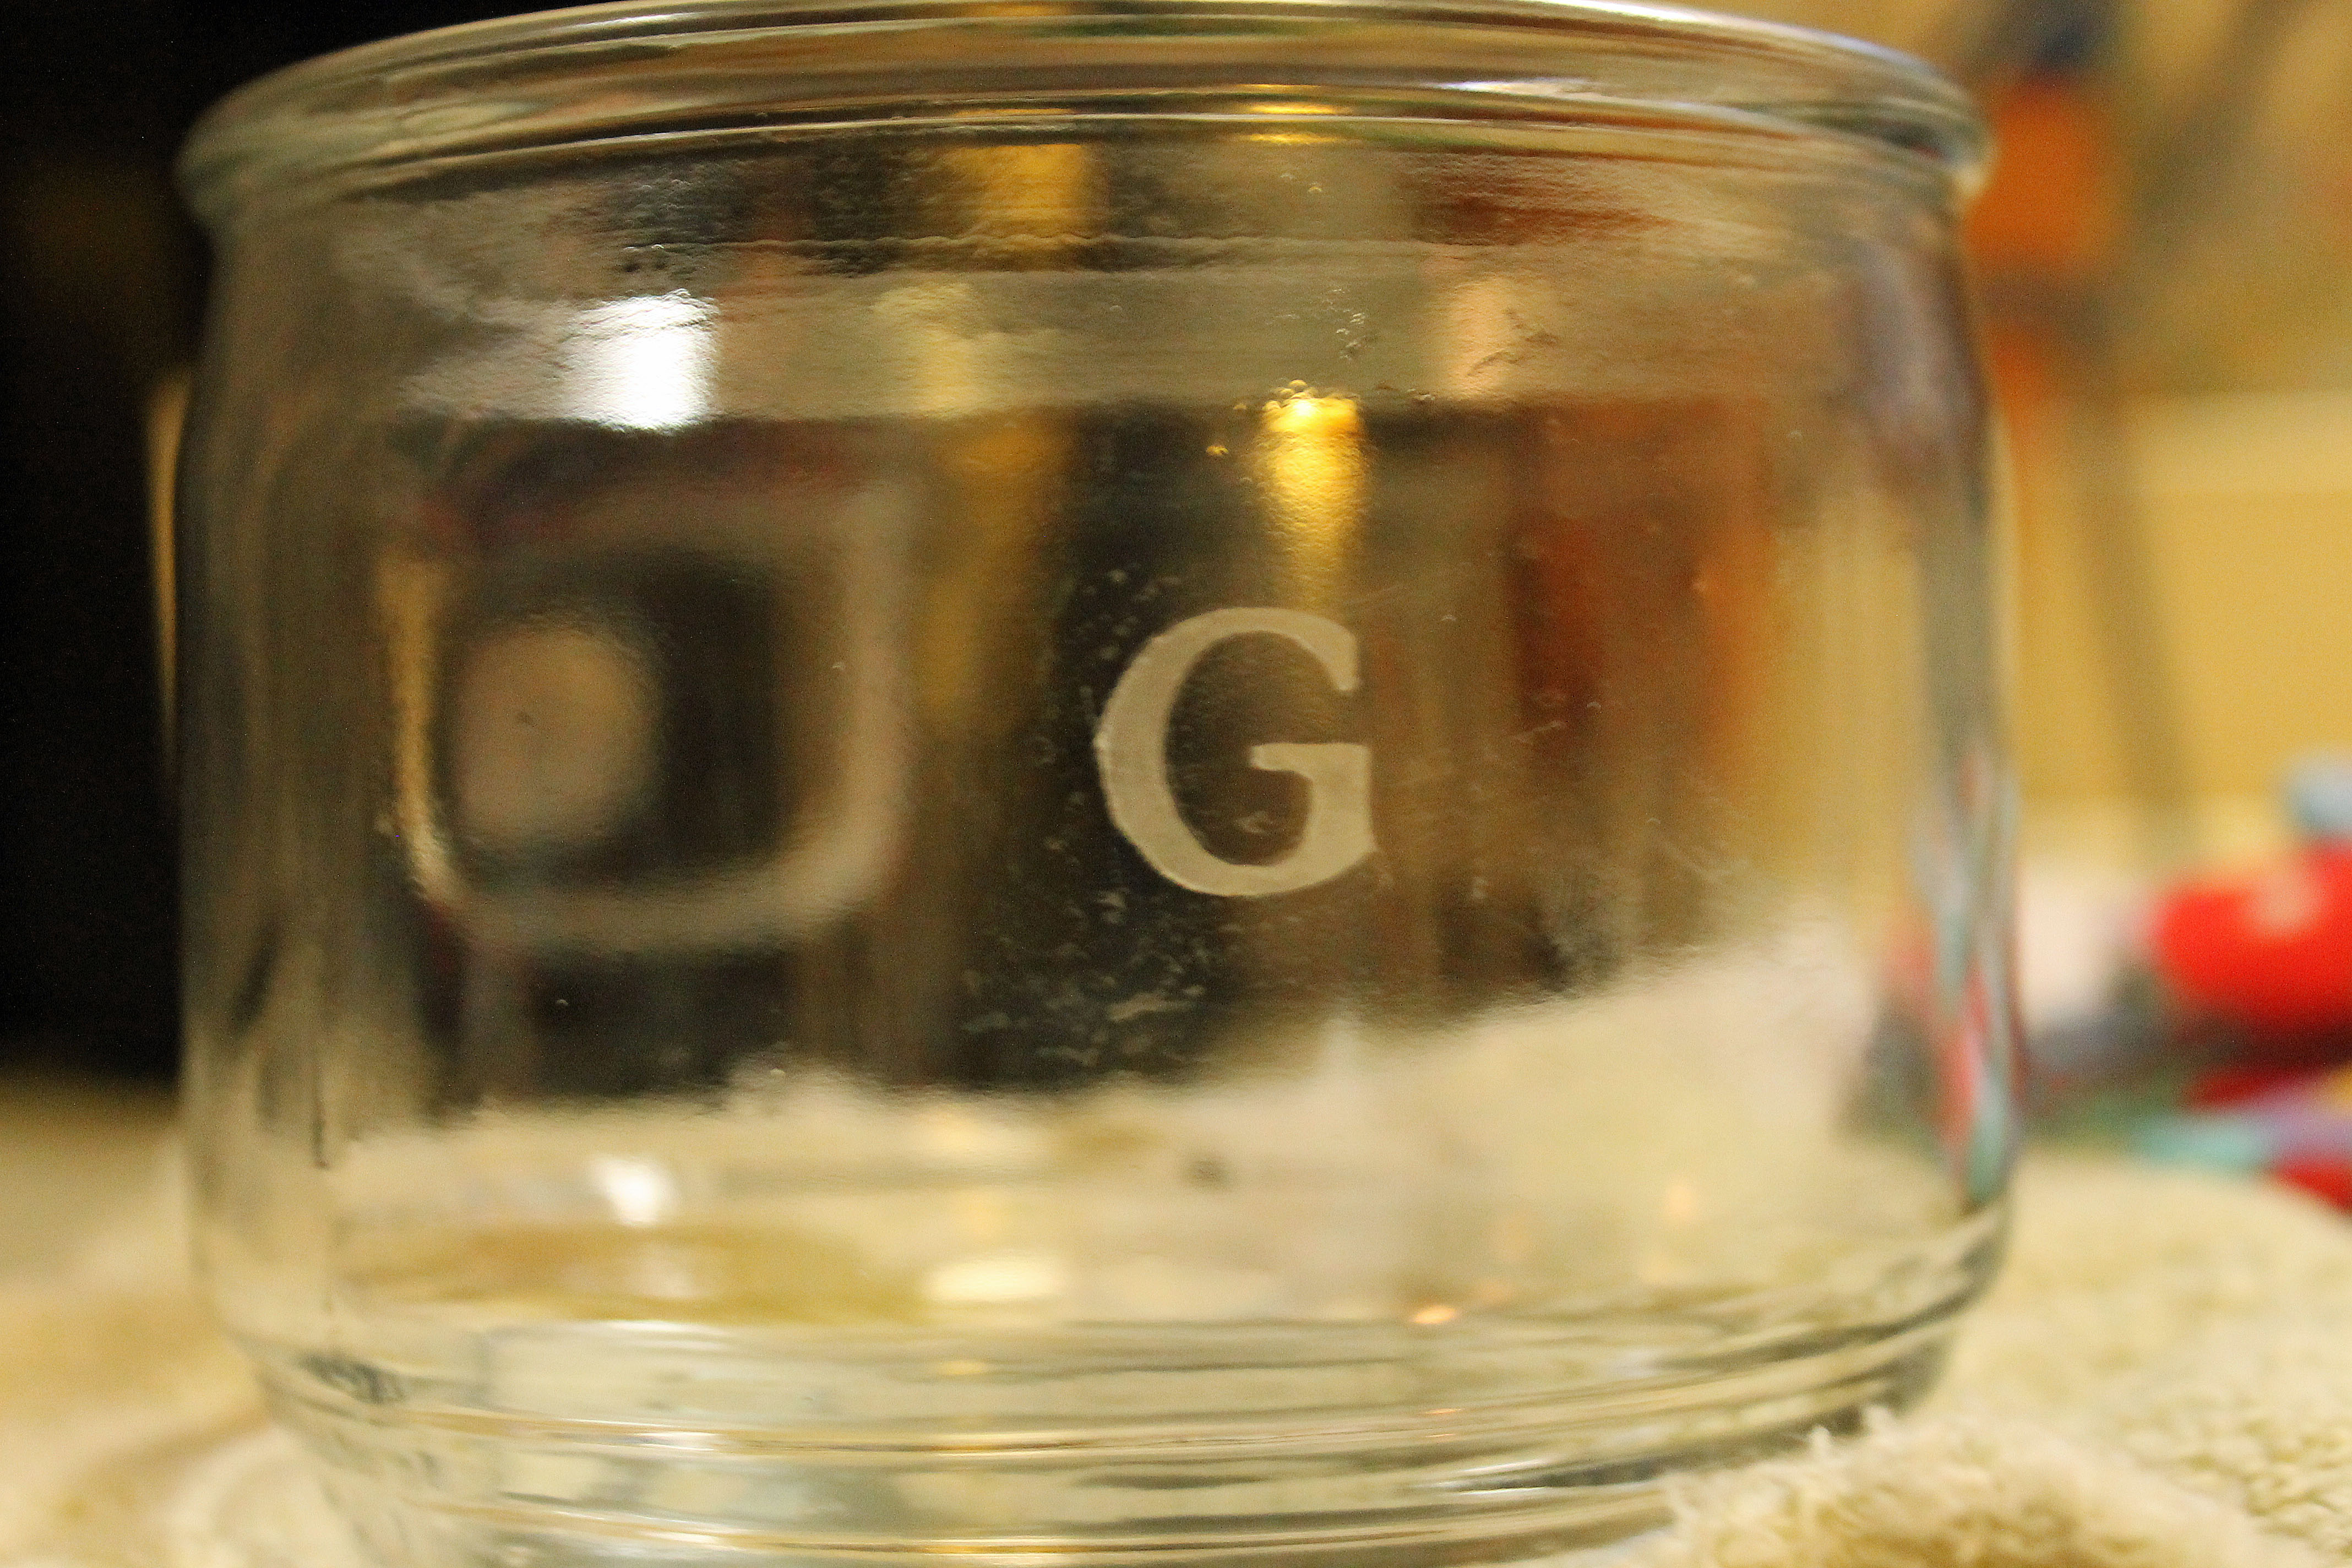
It may take a second to fully show up. We couldn’t tell if it had actually worked until a few moments after but they turned out really good! I was so pleased to see how nicely they turned out! You can use as many letters as you want or even other stencils that you can find! We just wanted to use one letter for the initial.
Step Six:
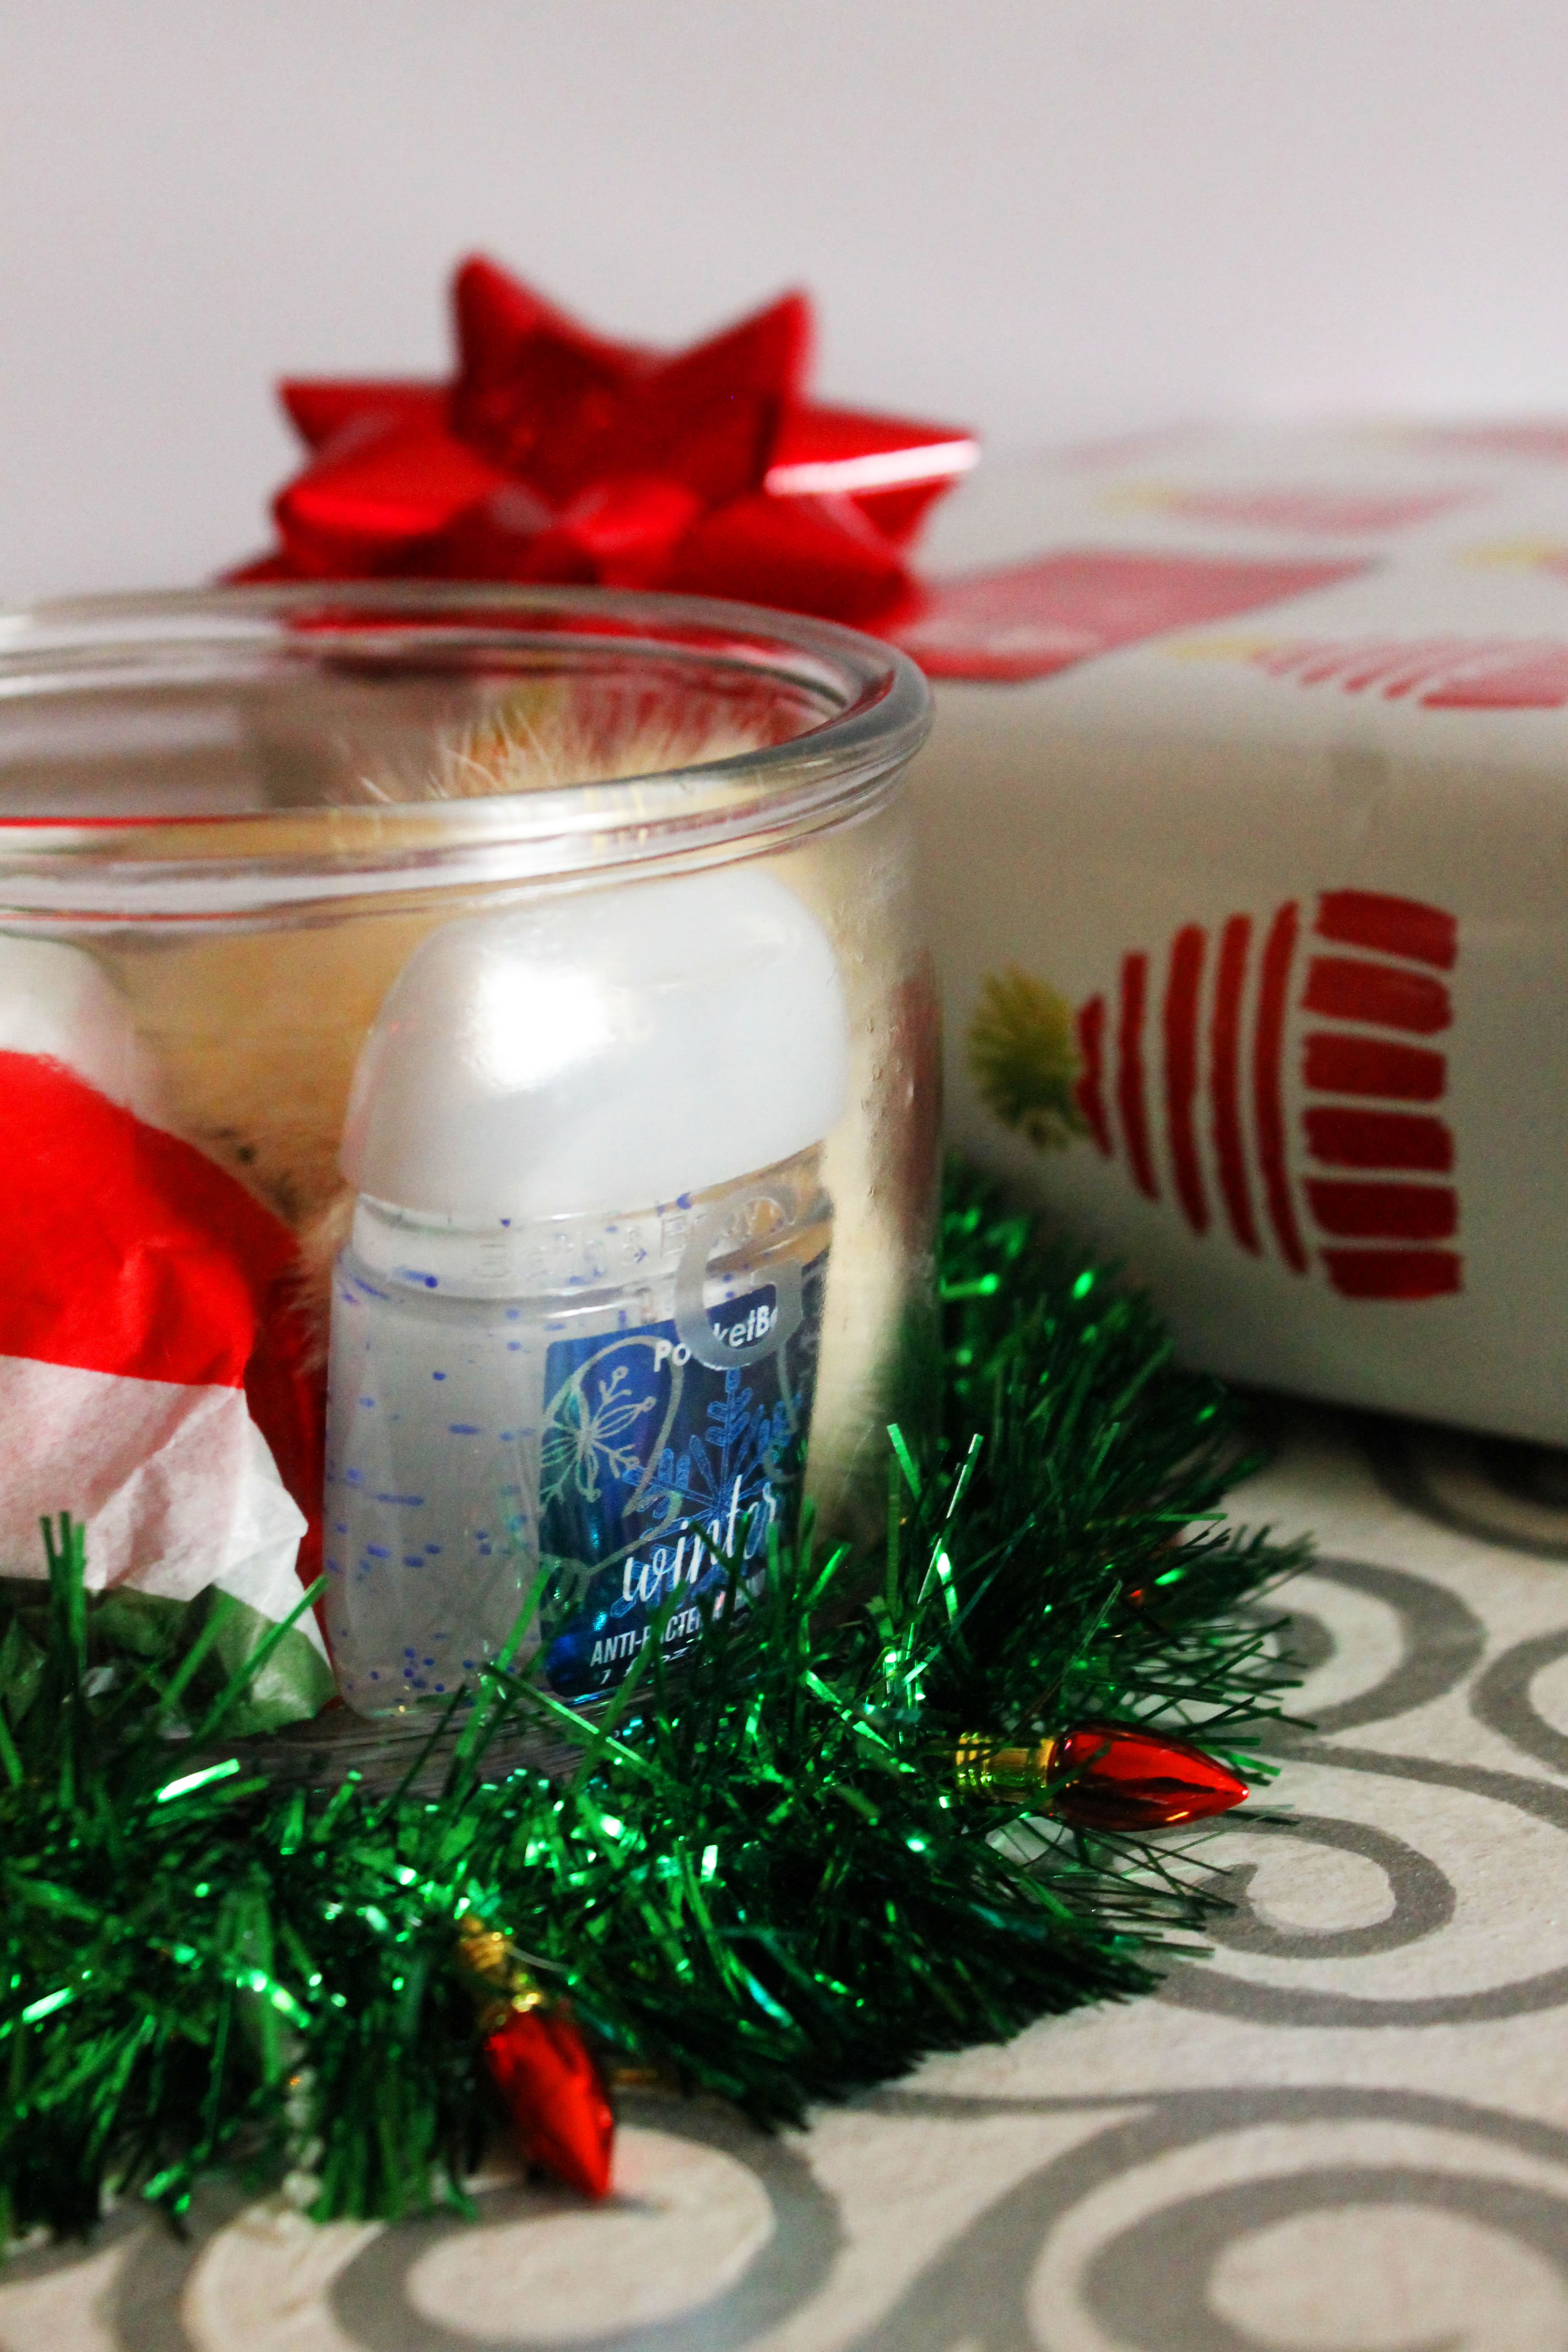
Fill it with goodies! Put inexpensive but nice little things in there like a bath bomb, a small candle, hand sanitizer, jewelry, anything! This would be such a lovely gift for a friend, your sister, mom, cousin, anyone! It’s inexpensive and thoughtful! They will appreciate the time and effort put into making it!
I think it turned out so nicely! A special thank you to my mom for her idea and her help with this project! If you recreate these, let me know how they turned out! What are some other last minute gift ideas?
xoxo Ariana